fbpx
Back

Please enter your username or email address.
You will receive a link to create a new password via email.

Rifle 101: Replicating True Soviet/Russian Shellac Finish

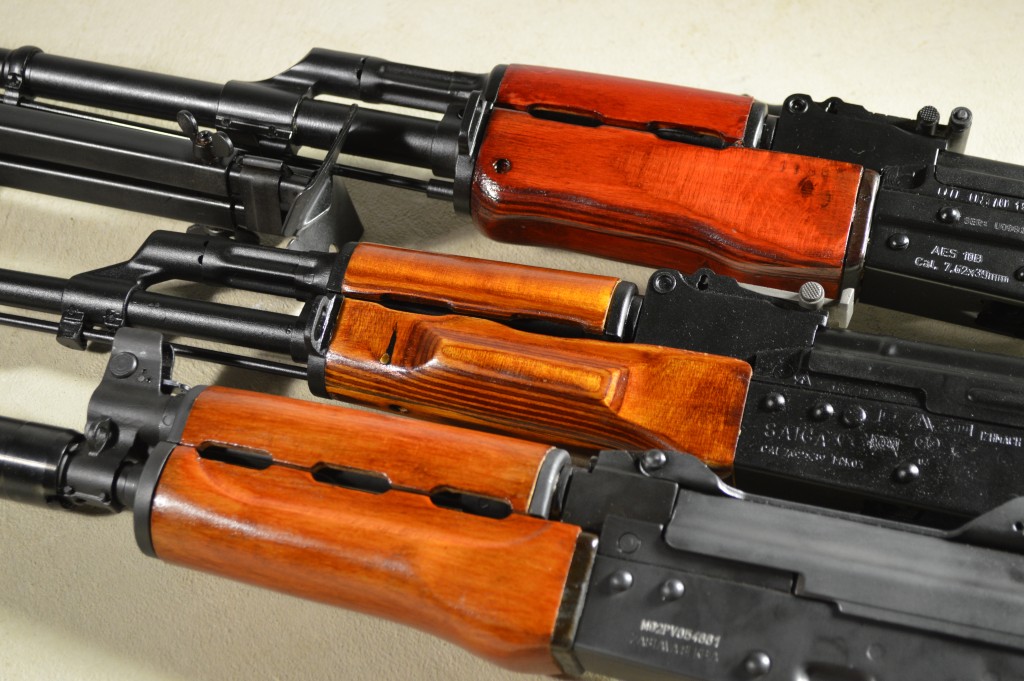
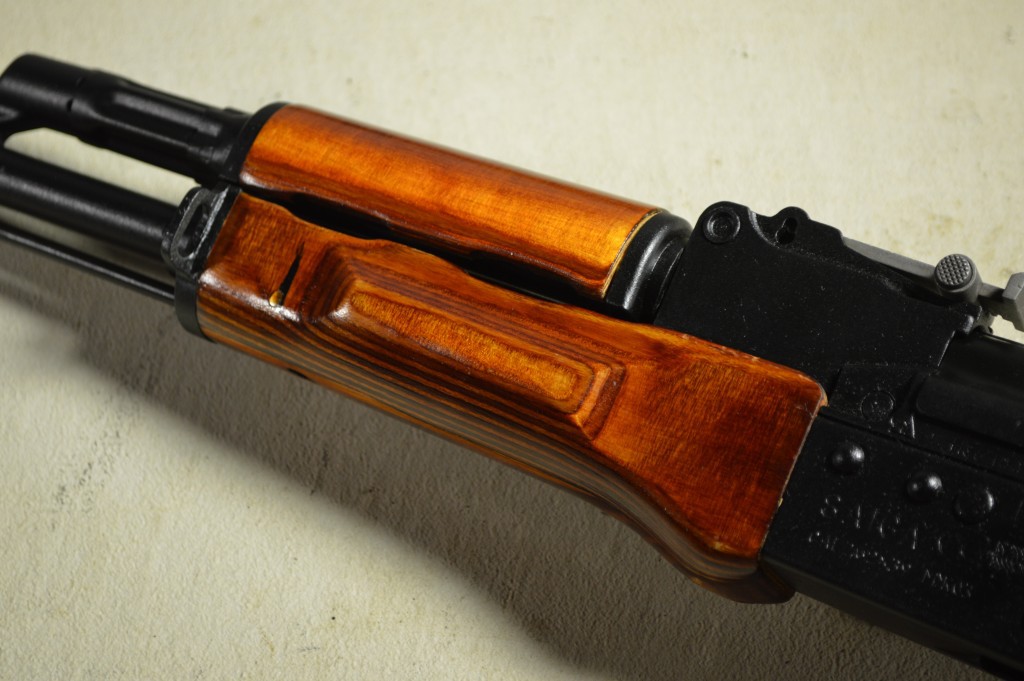
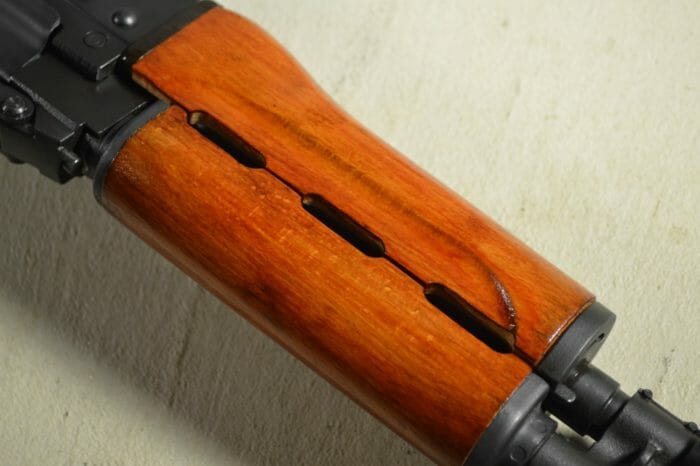
While cruising the DIY sections on popular forums, I often see members post elaborate refinishing recipes intended to replicate the shellac finishes used by the Soviets on their military small arms. Usually, these guides recommend using dyes, steel wool, and all sorts of other conveniences that we typically would not associate with relatively primitive communist arsenals. If there is one thing I’ve learned about AKs and other Soviet arms it’s that less is often more and many American collectors go overboard attempting to perfect their Kalashnikovs. This theory holds especially true with the shellac wood finish commonly found on AK wood. So how should people go about replicating Soviet finishes? Let’s take a look at some basic guidelines.

The Details

  • Use seedlac (filtered) or button lac as opposed to dewaxed shellac if you are looking for deep tones, especially for the outer coats. Both of these offer greater durability and opacity than dewaxed variants. The opacity is especially important if you are looking to achieve these darker finishes. I have found that I can usually only match the lightest shades of Soviet finishes with dewaxed shellac.
  • Thai seedlac is an excellent starting point for those looking to replicate a medium Soviet/Izhmash finish.
  • Your shellac mixture should be no thinner than a 2 lb cut (2 lbs of shellac flakes per 128 oz of denatured alcohol). Likewise, the solution should rarely be thicker than a 3 lb cut. The Soviets likely brushed on a single coat of shellac for each wood part. A 3 lb cut would allow us to do the same, but it is difficult to apply without some practice. I like around a 2.5 or 2.75 lb cut, which allows for excellent coverage with just 2 coats. For reference, Zinsser shellac is sold in a 3 lb cut.
  • You usually have 2 or 3 coats to achieve the desired finish. Any more than this and the desired light brush strokes will start to disappear. I have also found that beyond 3 coats, the shellac becomes too shiny and the brush strokes end up too thick. Some recommend a steel wool buff between coats, but the Soviets probably did not do this and it will destroy our lightly textured finish. Moreover, applying more than 3 coats can lead to inconsistencies in the finish as each successive layer partially dissolves the one below it during application. The shellac used by the Soviets was applied as a very thin outer coating.
  • Wait at least 4 hours between coats. If you live in a particularly humid locale, as much as a day between applications is best. Failure to follow this procedure will result in a clumpy, shiny finish as the base coats have insufficient time to fully dry. Allow at least 24 hours for drying before reassembly.
  • Do not go overboard with tints and dyes. Do not dye or stain the wood. Real Soviet shellac is usually very close in color to the ruby flakes sold on Shellac.net. Those looking for darker red Tula finishes should try the following:
    • Apply warm Auson brand pine tar to the stock set. To do this, warm a 50/50 mix of pine tar and turpentine to around 80 degrees (set it in the sun). Next, rub the warm solution onto the bare laminate in a thick coat using a disposable rag. After this application, double Ziploc bag the set and place it in your car’s trunk outside in the sun for 45-90 minutes (longer for darker tones). Remove the excess pine tar using a turpentine-soaked rag. Wait at least 24 hours and wipe any tar that seeps out before proceeding.
    • Apply two coats of dewaxed ruby, thai seedlac (filtered), or even filtered bysakhi button shellac in at least a 2.5 lb cut.
    • Since the dark red tones on Tula stocks likely come from oxidization of the underlying pine tar, it may be necessary to add a tiny amount (4-5 tablespoons each per 16 oz shellac) of filtered scarlet and brown RIT dye.
  • Izhmash finishes are simply shellac; the arsenal did not use pine tar.
  • I like to use the coarse stain brushes to apply the shellac. They usually leave nice brush strokes that closely resemble the originals.
  • The Soviets did not apply the shellac to the inside of handguards and stocks.

Following these simple rules should help to keep the finish realistic and believable. The Soviets expected the shellac to help preserve the wood, not win beauty contests (although the wood is gorgeous). With this fact in mind, our finish should be as simple, cheap, and quick to apply as the original.

Loading more posts ...