fbpx
Back

Please enter your username or email address.
You will receive a link to create a new password via email.

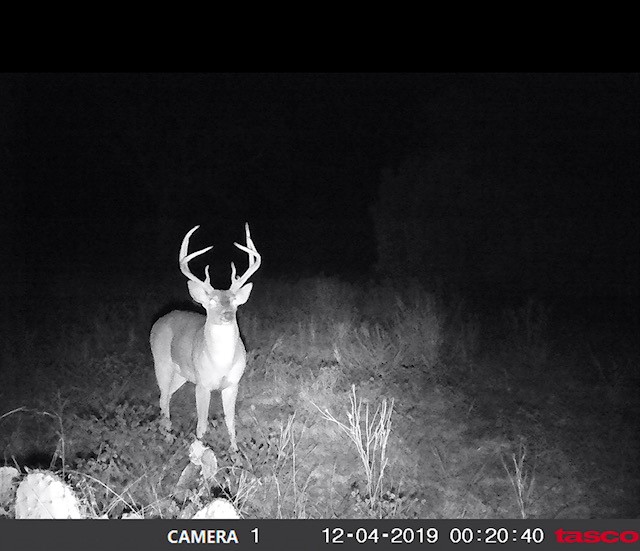
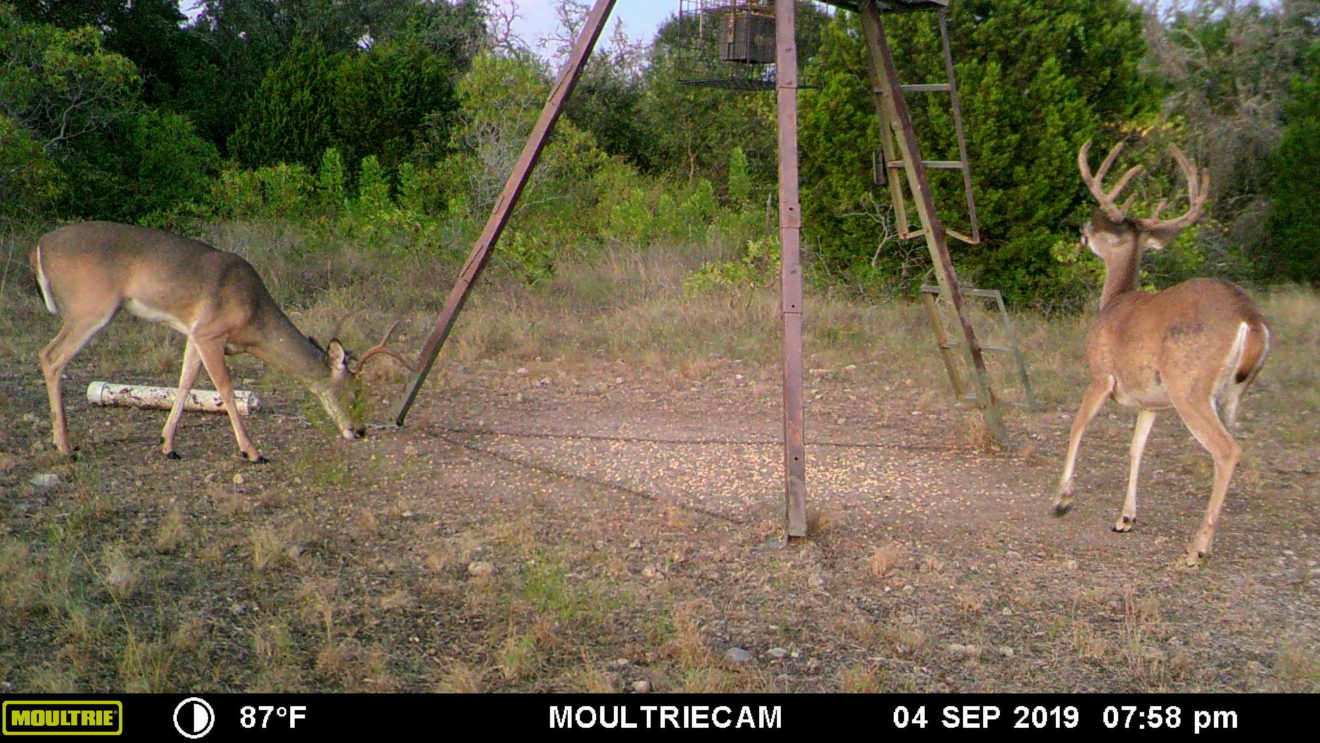
Playing Zone Coverage with Your Trail Cameras: Lessons Learned from a Frustrated Bowhunter
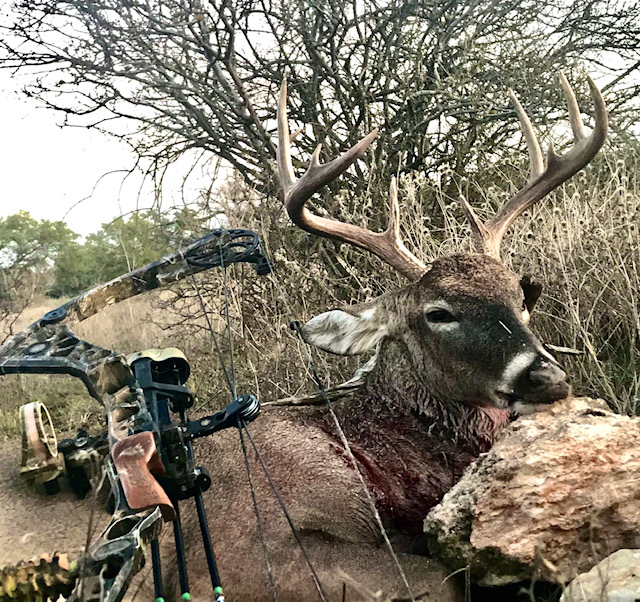
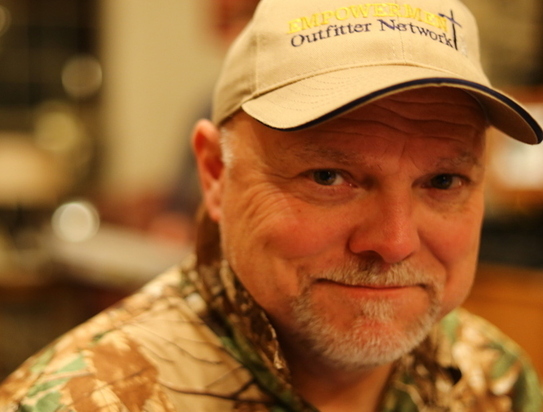
I rubbed my eyes. I was way behind on my image organizing from the latest card pull and was cross-eyed after continued clicking through the many photos. Then, there he was: “Loner,” a mainframe 10-pointer. He didn’t sport the best of antlers, but he was old. He was always alone regardless of the time of season. He seldom showed up during the day except during the final moments of dusk. For once, I had an image of him during the early morning daylight hours.

As the early season turned to the pre-rut period, he was nowhere to be seen. He’d changed his pattern. Near the intersection of a couple of heavy trails, the annual hot spot continued to be frequented by several bucks of various ages. As for Loner, he would only occasionally appear, usually during the dark hours. And because of this annoying habit, I could never determine exactly what direction he came from. I had some ideas but nothing definitive. I was grasping at straws. Straw-grasping is the kiss of death for bowhunters hoping to get in a buck’s kitchen for a close shot.

Game cameras are arguably the most valuable scouting tool in hunting history. While some purists don’t like them, most deer hunters rely on them. It’s enjoyable to see pictures of deer on your hunting digs. It can be flat-out addicting. 

While they can increase your odds of catching up with shooter bucks, it’s astonishing how little information trail cameras give you without a little strategy. The fact is, for a single setup you’re getting images (and sometimes video) of bucks in a minuscule area.

Where did they come from? Where do they go next? 

Whether you’re setting them up at feeding stations, mock scrapes, mineral sites, or popular travel corridors, the answers to these questions loom large. They’re also often what stands between you and a close-enough encounter for a bow kill. 

Most deer hunters leave a lot of quality intel on the table by simply strapping a camera to a tree and setting up a stand based on what it captures. I’ve been guilty of this myself.

What You’re Probably Already Doing Right

To be fair, placing trail cams at likely whitetail destinations like the ones mentioned above is a solid approach – and a great place to start. Just don’t let it be where you finish. If you want to really have your cameras work for you, you’ve got to roll your sleeves up and help the process along. Here are some additional steps that will stack the odds in your favor (in order). 

But first, let’s revisit the scenario mentioned above. Your hit-list buck occasionally shows up at your main camera setup right before dark with inadequate shooting light. Wouldn’t it be nice to know potential setups to encounter him on the way – with a little shooting light to boot?

Step Back

First, it’s time to survey a bigger slice of your whitetail grounds. For your best camera setups, take into account what you know and learn what you don’t. Look at any adjacent trails and potential bedding areas deer may use. While you can do this by scouting afoot, it’s never a bad idea to start with an overhead map of the area with Google earth or a hunting app. If you feel like you already know, it’s about time to leverage the information. The area mentioned at the beginning of the article has two intersecting trails leading close to a feeding station – which is largely why I placed the camera there in the first place. Hopefully, you also set up your cameras based on this or other advantageous features.

Get to Work

Now it’s time to apply simple logic and build on the original hub your camera captures. It’s also time to give real thought to any incoming passageways from as many directions as possible. Look for signs. If trails aren’t apparent, mix some creativity with your logic. Lean on deer pathways you’ve already witnessed during sits. Also, consider woodlots and edge cover relatively near the hub. Now, place additional cameras further away from the original camera set up and start experimenting. It may take a little trial and error, but ingress and egress patterns for bucks will start to crystallize. 

Other places to Deploy Additional Eyes

There are so many places from which mature bucks travel. They don’t wander around aimlessly; there is always a purpose. For example, if your hub camera is aimed at a section of a food plot, look for logical bedding areas on the property. There’s nothing better than setting up along a path between food sources and bedding areas. Place a camera or two on this possible yellow brick road. 

Another one of my favorite scouting areas and reinforcing camera setups are near property lines. In free-range areas with shared deer populations, these are scouting gold mines – especially amid smaller properties. Look for obvious fence crossings that may be pathways to and/or from your hub camera and set up another one near the junction (not right on the fence line mind you). 

When to Play Zone?

You shouldn’t have to first capture a coveted buck on camera to coax you into using this strategy. If your main camera is capturing any number of bucks, this is always a sound approach. More eyes in the woods are never a bad thing, especially when married with a real plan. 

The Question of Pressure and Scent

Perhaps the biggest potential downside to this approach lies with the increased footprint required in the field. It entails more trips into key areas of your hunting property for experimentation. Depending on your personal comfort level regarding possible disruption to your hunting digs, it may be worth it. For seeking mature bucks, it’s worth it as long as you, at a minimum, manage your scent and movement. In this way, you can not only determine travel direction but learn and collect other variables such as wind conditions and temperature prevalent during these movements.

Conclusion

Game cameras continue to be game-changers in the whitetail world. If you don’t already do so, it’s time to use these marvels of hunting technology to their fullest. Old bucks are wise and a new game plan is in order. Use two, three, or more cameras to start truly patterning shooter bucks. In this way, you can not only determine travel direction but learn and collect other variables like wind conditions and average temperatures – and make real decisions based on them.

It’s time to play zone coverage and catch up to the kind of buck covet by better understanding their routes and habits. You can do this by working backward from your hub camera or land feature and following their approach routes. Or, you can play man coverage like most hunters and likely get burned. 

Loading more posts ...