Rifle 101: Refinishing Your AK or RPK’s Wood
Let’s face it, some firearms are just plain ugly. Whether it’s awkward ergonomics, bad finishes, or just generally disjointed aesthetics, there are plenty of guns that have no business anywhere near a beauty pageant. For some firearm designs, this homeliness comes naturally, for others it is earned through poor care and haphazardly applied (or simply missing) finishes. Contrary to some very wrong opinions, ugly AKs fall into the latter category. Indeed, there is no reason an AK or RPK cannot be just as beautiful as any other wood-stocked rifle; the biggest challenge is that so few of these rifles receive proper finishes to bring out their natural luster.
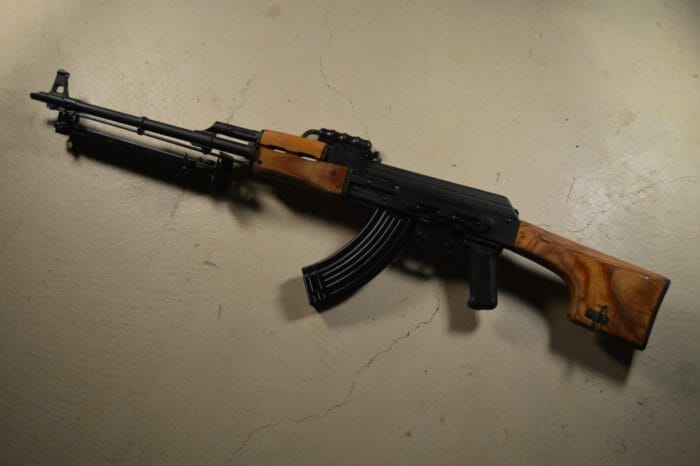
In this first tutorial, I will outline the application of a semi-proper Russian-style shellac finish on the wood of a Century Arms AES-10B. The AES-10B is a semi-automatic variant of the RPK made in Romania. These rifles are relatively high quality builds that are usually reliable shooters. However, they are also spartan in appearance. In this guide we will address the unfinished furniture and in an upcoming tutorial, we will talk about painting the rifle.
Refinishing: Shopping List
Zinsser Amber Shellac
Denatured alcohol
Small canning jars
Coffee filters
Medium and fine or very fine sandpaper
Rit Dye colors Scarlet Red, Tangerine Orange, and Dark Brown
Economy stain brushes (2-inch)
Prepping the Finish
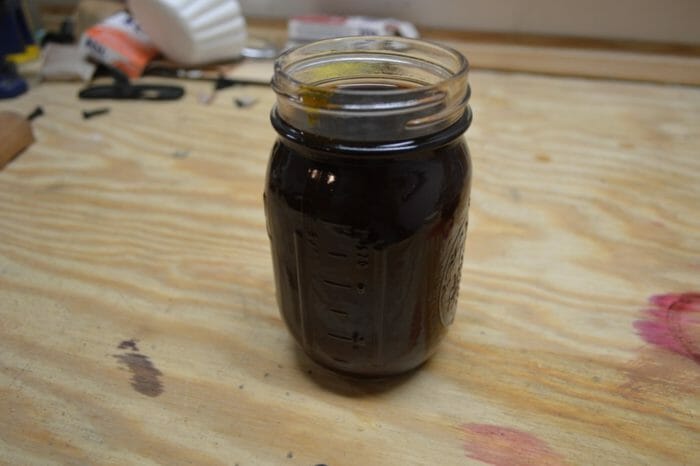
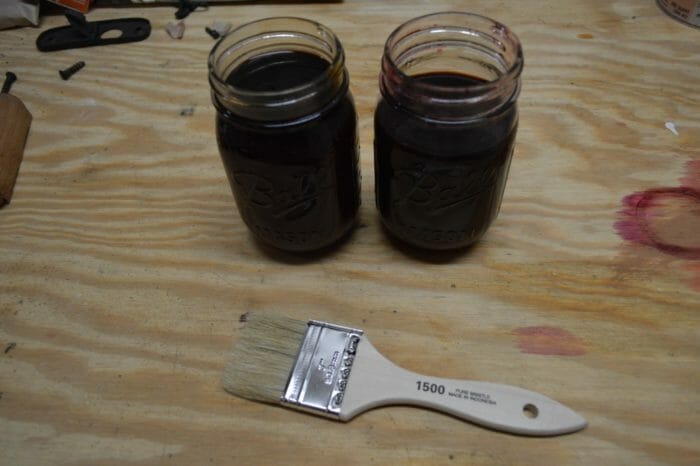
Preparing your finish is one of the most crucial parts of this process. Because it can take a while, the first thing you will want to do is begin dissolving your dye salts in denatured alcohol. This is where the coffee filters come in handy. Since the salts will only partially dissolve in the alcohol solution, we use the coffee filters to strain out the undissolved salts that could disrupt our final finish if mixed with the shellac.
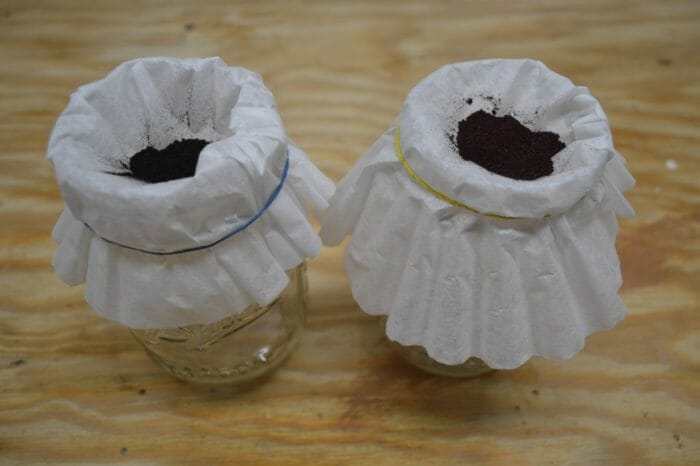
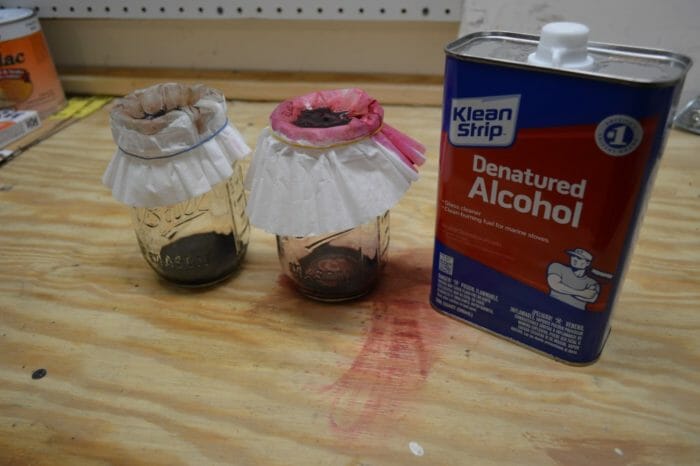
After a sufficient quantity of dye has been created (I like to strain out around 1/4 cup of dye for each color), we can begin the blending process. For my base Russian-style finish, I like to start with the following mix:
65% Amber shellac
15% Denatured alcohol
15% Scarlet Red dye
5% Dark Brown dye
There are several reasons for my color choices and approximate ratios in this mix. First off, the Scarlet Red will mix with the amber color of the shellac to create a burnt orange blend. In order to tone down the brightness of the solution, I add a small amount of Dark Brown.
The second major reason for these ratios is that the resulting shellac solution will be approximately a 2-pound cut. Cut is a measure of the amount of shellac flakes dissolved in a given quantity of alcohol. The standard for measurement is 128 fluid ounces of denatured alcohol (a 2-pound cut is 2 pounds of shellac flakes per 128 fluid ounces of alcohol). For reference, Zinsser makes their shellac in a 3-pound cut which is too thick for our purposes. Thus, we must further dilute the solution using dye and pure denatured alcohol until we achieve a more “brushable” 2-pound cut.
Preparing the Wood
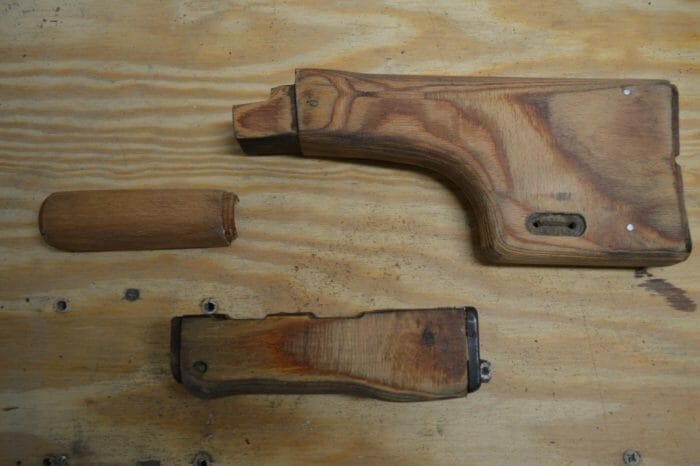
While not as important as our shellac, making sure our wood’s surface is clean and smooth will result in a cleaner final product and will prove helpful when we apply the shellac. My AES-10B fortunately came with bare laminate that did not need to be stripped. In order to prepare this set for finishing, I simply sanded each piece with medium grit sandpaper to remove dirt and some of the oils that had soaked into the grain. As you can see, some oils simply won’t come out without extensive effort.
Applying the Finish
Brushing the finish onto the wood is relatively simple, but the process does require care. Using the stain brushes, dip only the very tip of the bristles into the shellac solution. Then, use only enough shellac to lightly coat the surface of the wood. I use cheap economy brushes for these projects because they have coarser bristles than more expensive brushes. These coarse bristles leave brush marks in the finish that resemble those found on real Soviet furniture.
You will notice that as this first coat dries, the wood will return to a matte finish. Do not worry, this is why we will apply 5 or more coats to achieve the desired glossy sheen. After applying the first coat (and any subsequent coat) it is absolutely crucial to wait at least an hour before the next application. Failure to do so will cause streaking and clumping in the shellac. These issues stem from the fact that our solution is rather heavy on denatured alcohol and if we attempt to apply more solution to a wet or sticky sub-coat, we will also partially dissolve this previous layer.
After 4 or 5 coats, you should start to notice a drastic change in the wood’s appearance. By this point, the furniture should be semi-glossy or glossy and should have taken on the color of the mixture. For deeper coloration or better durability, additional coats can be added.
Reassembly
Before putting the firearm back together, be sure to wait at least 4 hours (24 is preferable) after the final coat. This will give the shellac time to cure and should cut down on any remaining stickiness. After reassembly, I prefer to wait 5 to 7 days before taking the newly refinished rifle to the range.
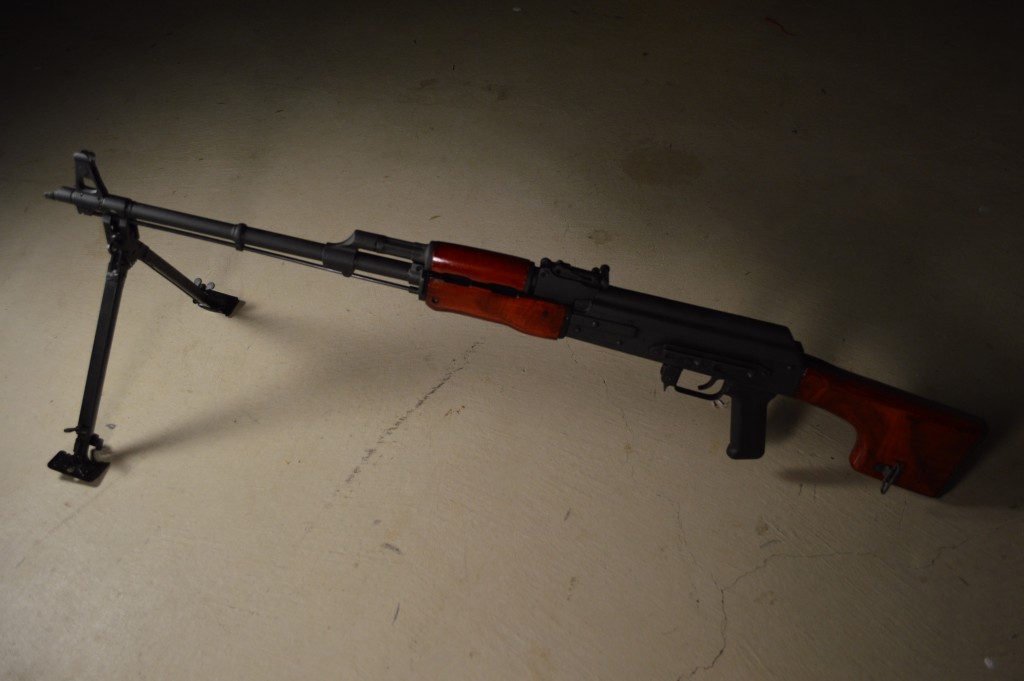
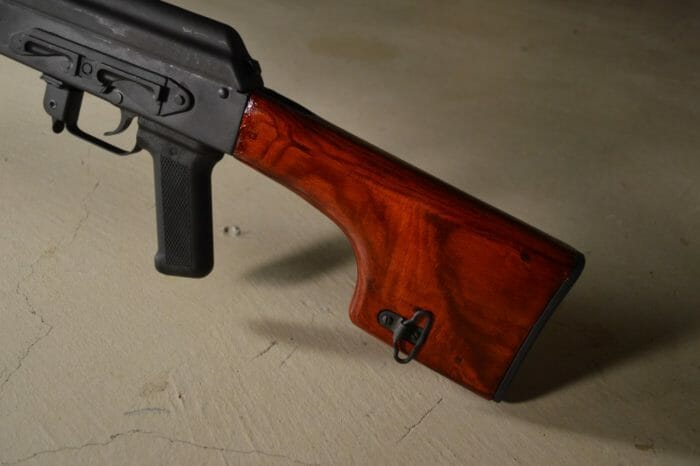
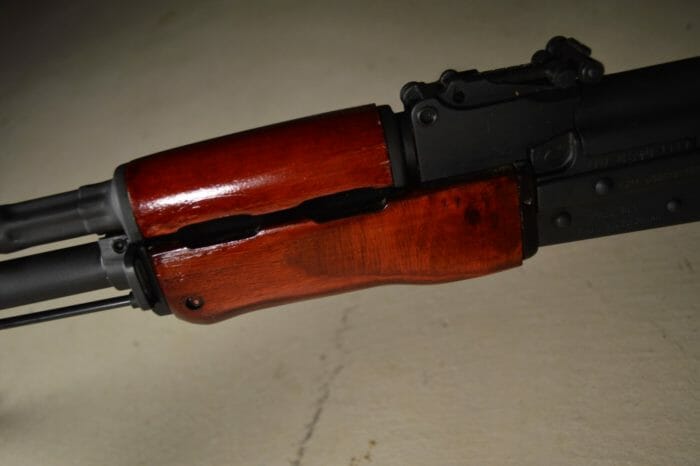
Keep in mind that this guide and my solution are far from the only ways to replicate the Soviet-style look. Those looking for a darker, Tula-like finish might want to add some plum or black to the dye mixture. Likewise, those aiming for a lighter Izhmash shellac will probably need to add some orange or yellow to lighten the mix. In truth, the Soviets did not even dye their shellac as the red-orange coloration came from the flakes themselves. Still, this guide should point novices in the right general direction to achieve a close replica of the finish.
An information security professional by day and gun blogger by night, Nathan started his firearms journey at 16 years old as a collector of C&R rifles. These days, you’re likely to find him shooting something a bit more modern – and usually equipped with a suppressor – but his passion for firearms with military heritage has never waned. Over the last five years, Nathan has written about a variety of firearms topics, including Second Amendment politics and gun and gear reviews. When he isn’t shooting or writing, Nathan nerds out over computers, 3D printing, and Star Wars.

