Rifle 101: Refinish Your AK’s Metal Parts with Appliance Epoxy
As a Kalashnikov enthusiast, I cannot think of any topic more aggressively researched or argued than how to appropriately replicate Soviet/Russian AK metal and wood finishes. Possibly a result of language and political barriers, gathering information on Kalashnikov manufacturing and finishing processes has been a challenging hobby to which many serious collectors have devoted countless hours.
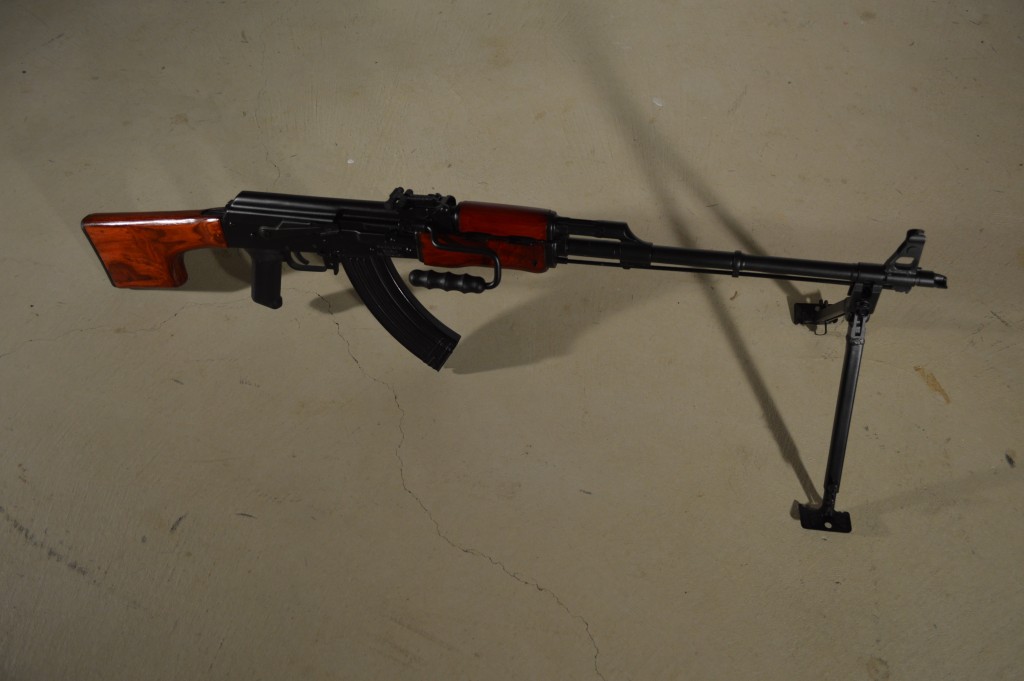
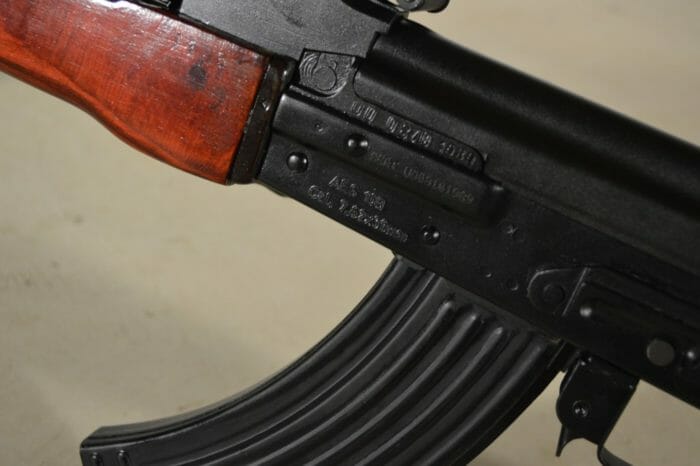
Because of this reality, you may understand my astonishment two or three years ago when some enthusiasts began to praise Rust-Oleum Appliance Epoxy as an excellent match for Russian paint. At the time, I only owned a Saiga rifle that already had its original Russian finish so I was not all that interested in testing the new theory. However, my outlook began to change as soon as I acquired my Romanian AES-10B RPK. The bland, flat gray parkerized finish on this Romanian behemoth simply did not cut it for me and only looked worse after I refinished the rifle’s wood. I had to give the appliance epoxy a chance.
Getting Started
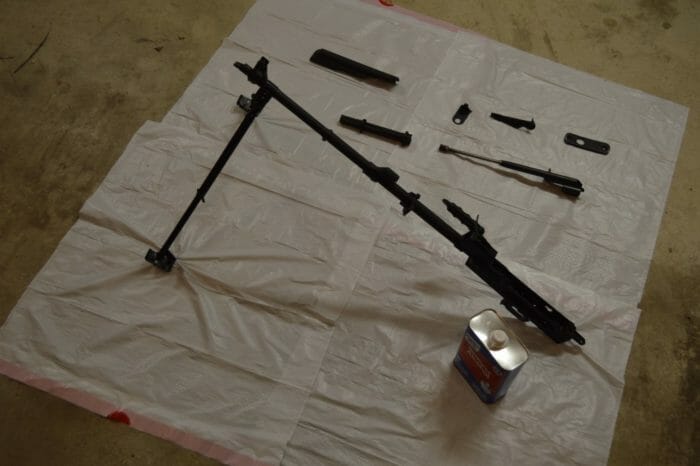
The first step in any refinishing project is to completely field strip the rifle and remove all furniture. For Kalashnikov variants, this is a simple process, but some firearms might need additional tear down. Once the rifle is disassembled, set the bolt aside as there is no need to paint it and doing so could affect the AK’s reliability.
Chances are good that at this point your hands will be rather greasy. Since I anticipated an eventual refinishing project, I took care to use only as much oil as needed on my AES-10B. Even so, the rifle was built on a Romanian military parts kit and the Romanians are no strangers to the frustratingly wonderful preservative grease known as cosmoline. In order to ensure proper paint adherence, it is critical that we completely de-grease and de-oil the firearm.
Removing the oil and grease from the rifle can be accomplished in a multitude of ways. Chemical solutions such as mineral spirits, alcohol, or soapy water all have been used before and are known to work. Another option is to bake the rifle (no hotter than 400 degress Fahrenheit) in order to melt any hidden or caked on grease. For this project, I chose a combined heat and alcohol approach.
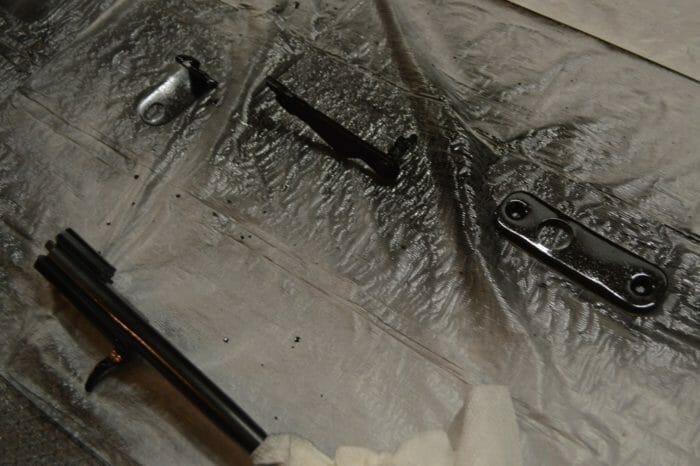
After preheating my grill to 400 degrees, I laid out some aluminum foil on the grates, placed the rifle on the foil, and closed the lid. Since the AES-10B is a very long rifle, I did have to bake the barrel and receiver separately, but total bake time should be no more than 90 minutes. After removing the rifle from the grill or oven, you may notice that it has begun to “sweat” around the barrel components and inside the receiver. Take care to avoid burning yourself, but remove this liquid grease and oil promptly as it will be easier to clean while still fairly warm and runny.
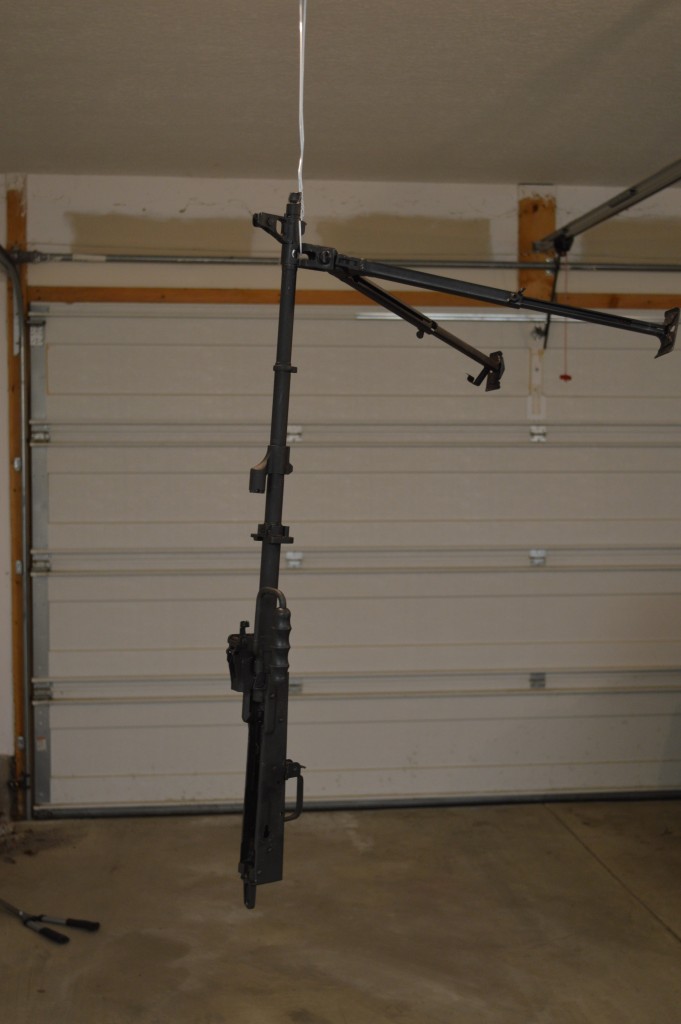
Once the rifle cooled, I then took it to the garage for a quick chemical cleaning session. For this, I used denatured alcohol that I had left over from refinishing this rifle’s wood. As a word of warning for those who do use denatured alcohol, it is a toxic chemical and even skin contact should be avoided so please use gloves. Despite these risks, I like using alcohol as a cleaning agent for refinishing projects because it dries very quickly and leaves no residue. When you are satisfied that no oil is left on the rifle, either hang it up for painting (recommended) or set it on trash bags or newspaper with the other parts. At this point, avoid touching the firearm with your bare hands as skin oils could affect the final product.
Prepping the Paint
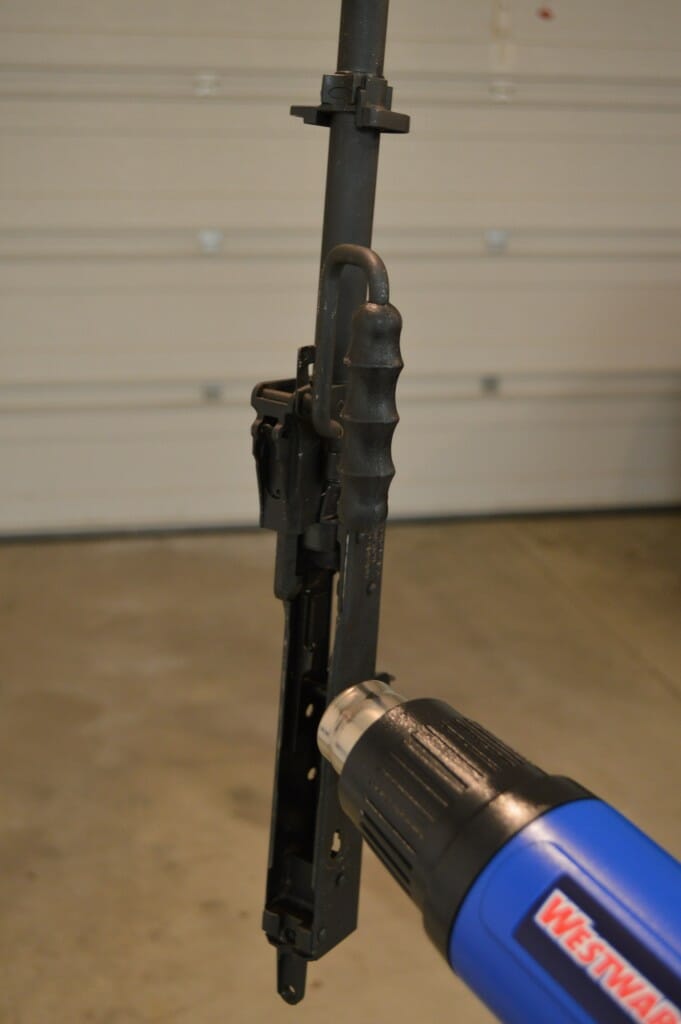
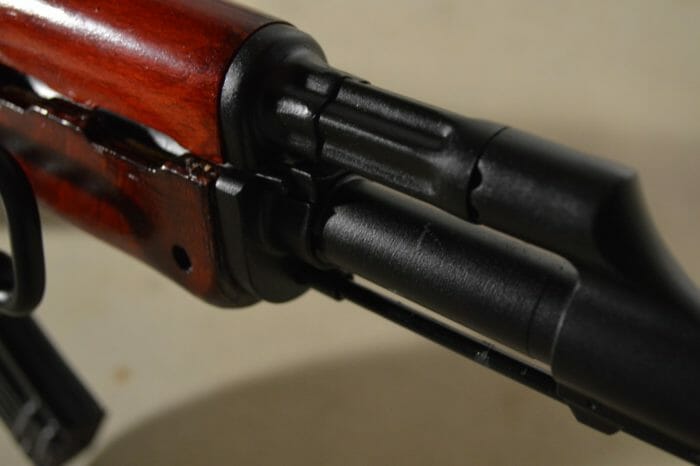
The next couple of steps are not absolutely critical, but I have found that they help to ensure consistency in results. The first is that I highly recommend placing the can of epoxy in warm water for at least 5 minutes prior to spraying. My experience has shown that this prevents clogged nozzles and promotes a more even spray. The second recommendation is to use a heat gun or bake the rifle and parts again (at around 200 degrees) just before painting. Warming the surface of the firearm will expedite the paint’s drying process and will help to preempt the overly glossy finish that can result from using appliance epoxy. Before painting, be sure to tape or otherwise cover the gas piston and plug both barrel ends. I found that paper towel works fine for both of these applications.
Painting
When it comes to actually applying the paint, the desired end result will largely drive our application technique. On this rifle, I was looking to replicate the inky, satin finish found on most Soviet/Russian Kalashnikovs. In order to achieve this look, I applied three light coats of paint to the firearm. For reference, I recommend keeping the nozzle at least 14 inches away from the rifle while spraying. Be careful while spraying the epoxy. It is a much different beast than enamels or other common spray paints in that it comes out very sticky and is highly unpleasant to breath in. Make sure you wear gloves and have good airflow in your work area. Each coat should be mostly satin in appearance, just slightly glossier than our desired final product. The baking process will tone down some of the paint’s sheen, but a borderline reflective finish cannot be baked out completely. It is also important to wait at least an hour in between coats to ensure the most consistent finish.
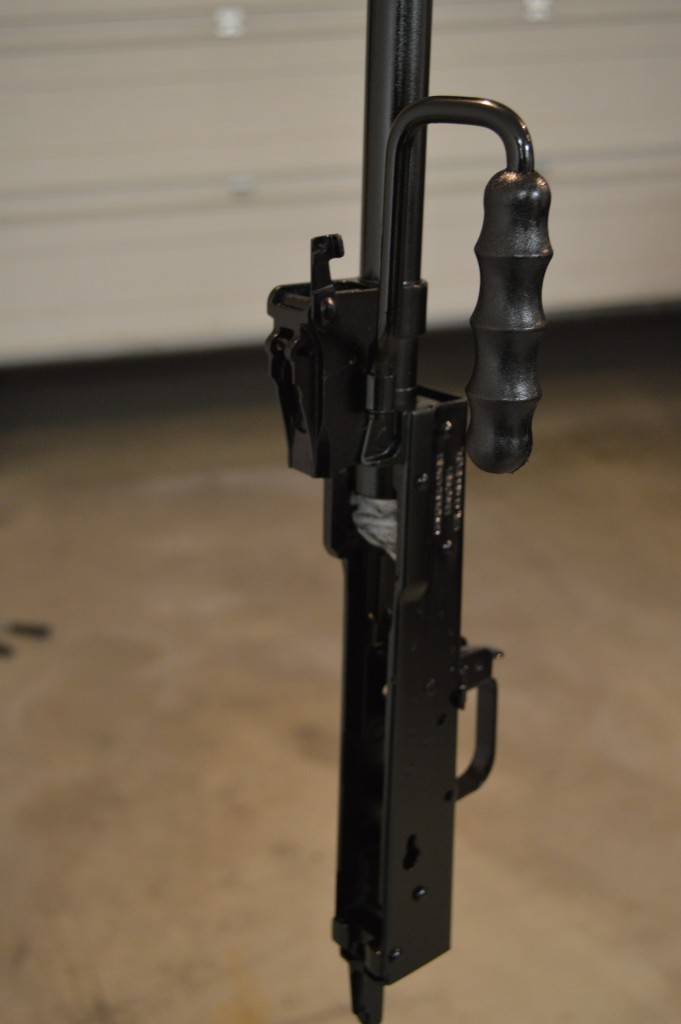
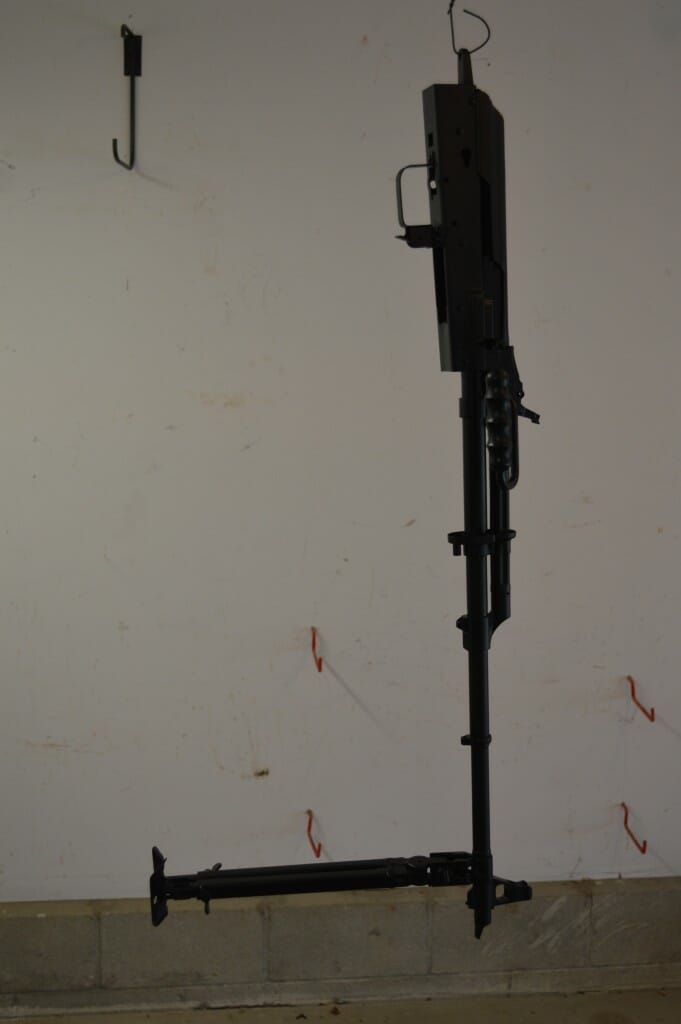
After three light coats have been evenly applied, the rifle should be dark satin or semi-gloss black. Ideally, the paint will have a slightly rough texture. This is caused by partial drying as the paint is sprayed onto the rifle. Regardless, I feel it is important to wait at least 12 hours before handling the firearm at all.
Curing the Finish
Once the paint has fully dried, it is time to bake it. If your firearm will fit in your oven, go ahead and preheat it to 400 degrees Fahrenheit. For those of us who cannot squeeze our rifles into the oven, a gas grill will work nearly as well. With a little adjustment, I was easily able to achieve 400 degrees using the lowest gas setting on all four of my Char-Broil grill’s burners. This setting will vary from grill to grill, so be conservative and watch the temperature, especially in the early part of the baking process. If the grill is too cool, we can always bake longer or adjust the temperature. A grill that is too hot may render our new finish brittle or even damage the heat treating of the parts.
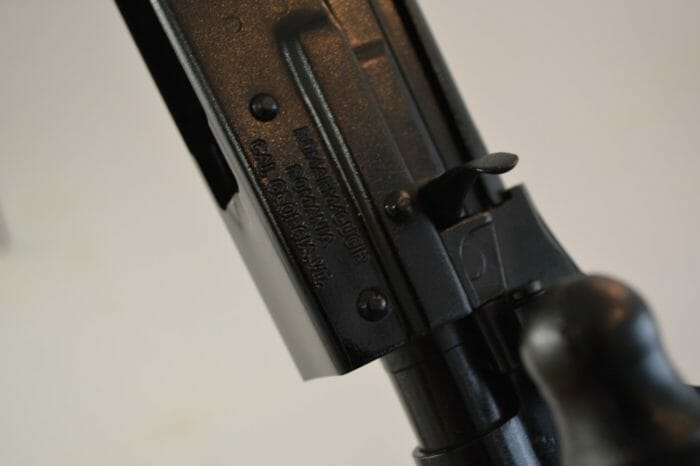
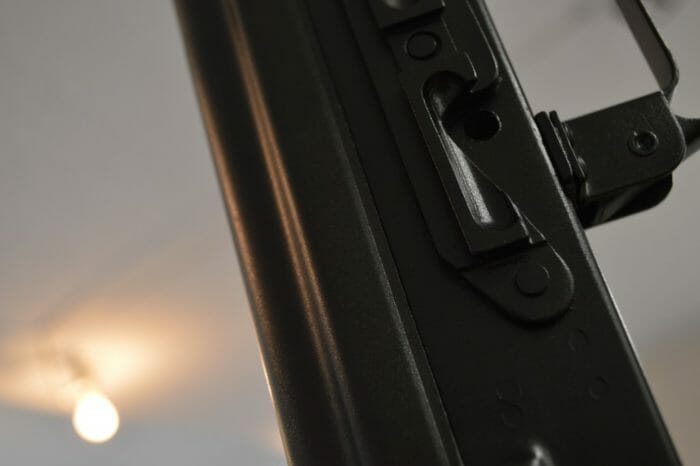
In my case, I had to bake the receiver and barrel separately. In order to do this, I once again set foil on the grill’s grates and initially rested the receiver on this surface with the barrel protruding through the grill’s side. I baked the dust cover, selector lever, gas tube, and bolt carrier with the receiver.
After 50 minutes to 1 hour of baking these parts, I removed all but the barreled receiver. I then placed the barrel and bipod on the foil and closed the grill lid with the receiver outside of the grill. A good area to divide the rifle for these purposes is just behind the handguard retainer. If this area is scratched or does not bake properly, it will be covered by the lower handguard and won’t be visible when the rifle is assembled. If you were able to bake the whole rifle at once, you are done after the first hour. If not, the process will be complete after both the receiver and barrel have been on the grill or in the oven for 1 hour each.
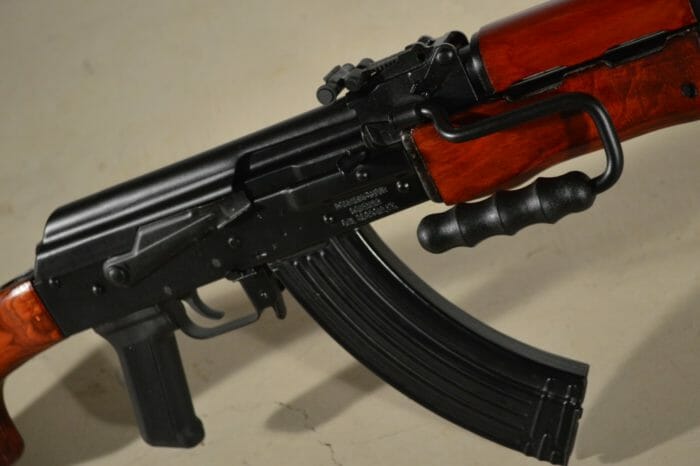
From the grill/oven, the finish will be almost completely cured. Obviously you will want to give it time to cool, but once the AK is safe to handle, feel free to reassemble it. You should notice that the finish is considerably flatter than it was before baking and it should be a very nice match with the paint used on Soviet or Russian AK parts, but will likely be much more durable.
An information security professional by day and gun blogger by night, Nathan started his firearms journey at 16 years old as a collector of C&R rifles. These days, you’re likely to find him shooting something a bit more modern – and usually equipped with a suppressor – but his passion for firearms with military heritage has never waned. Over the last five years, Nathan has written about a variety of firearms topics, including Second Amendment politics and gun and gear reviews. When he isn’t shooting or writing, Nathan nerds out over computers, 3D printing, and Star Wars.

