Gun Safe Renovation: Door Storage Makeover
If you spend enough time shooting and collecting firearms and gear, you WILL eventually run out of space inside your gun safe. Sure, some folks possess incredible self-control and can successfully resist the urge to pick up new guns, and others sell their firearms (gasp!), but most of us will reach a point where we simply cannot fit even one more rifle or pistol inside the unit, at least as it comes from the factory. When this happens, we are faced with a couple of options: either purchase another safe or get creative with your current safe’s layout.
Recently, I ran into this roadblock. Years of operating this site, paired with its recent growth, meant that my safe couldn’t keep up with my collection. Rather than deal with the challenge of hauling a new safe into the house (probably inevitable at some point), I figured that there were probably some things I could do to my current storage solution to temporarily address my problem. Today’s article will be part one of an ongoing series examining the interior design aspects of my safe remodel.
Looking at the inside of my packed gun safe, I immediately noticed two significant issues. First, the way my safe (and many others) approaches long gun storage is pretty pitiful. Halfway up, along the sides of the unit and then down the middle sit panels with recesses that are intended to hold the barrels of rifles and shotguns, keeping them upright and preventing sliding/falling. When the safe is empty, these are perfectly fine, and it’s very easy to set place firearms inside the safe and take them out for range time. Having to lean rifles starts to create problems as the safe fills as it means that each gun takes up far more lateral space than necessary. Freeing up room means we need to address this. I’ll save that bit for a later entry.
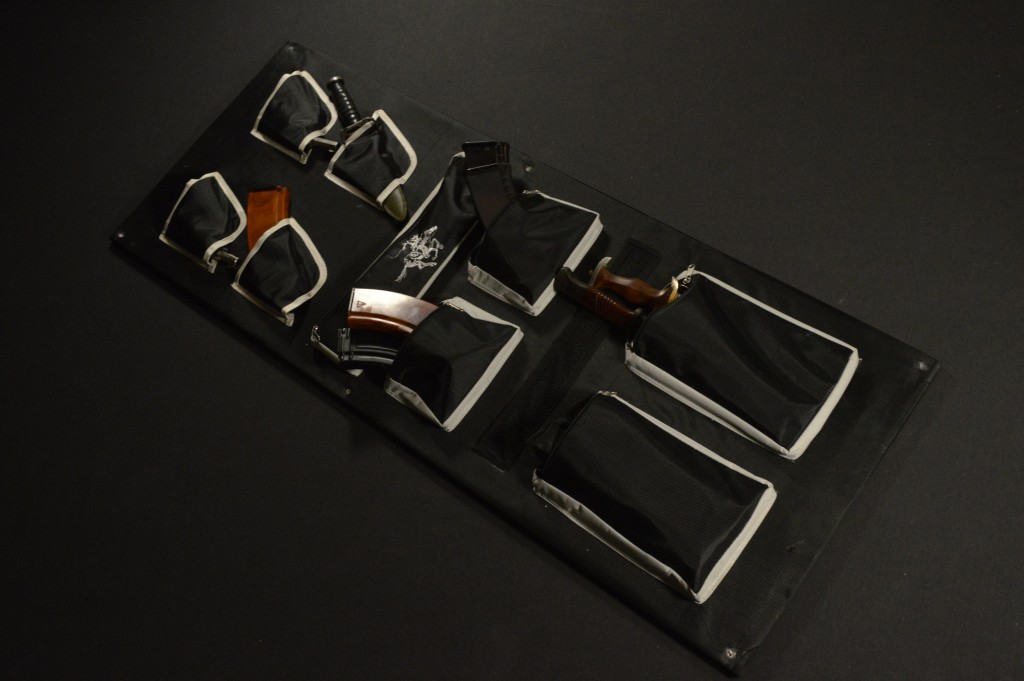
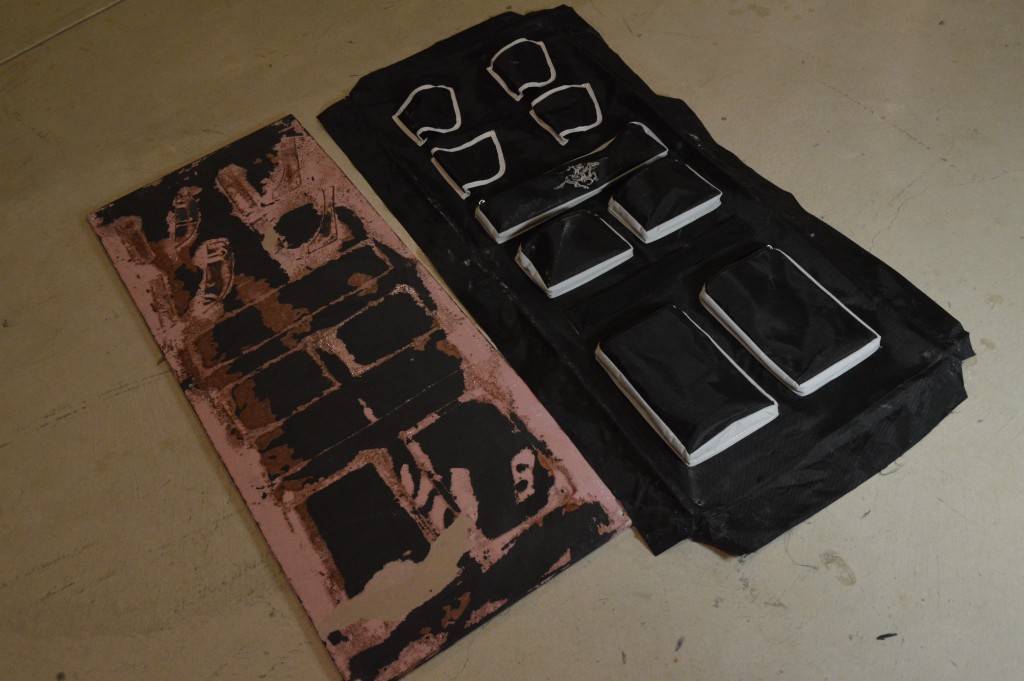
The second issue relates to the interior door panel. From the factory, my safe featured several preinstalled pockets and four slots to hold handguns. There was nothing wrong with any of these additions, but they didn’t specifically address my storage needs, and they weren’t adaptable at all. A few of the pockets were mostly useless for my purposes, meaning they were essentially wasted space.
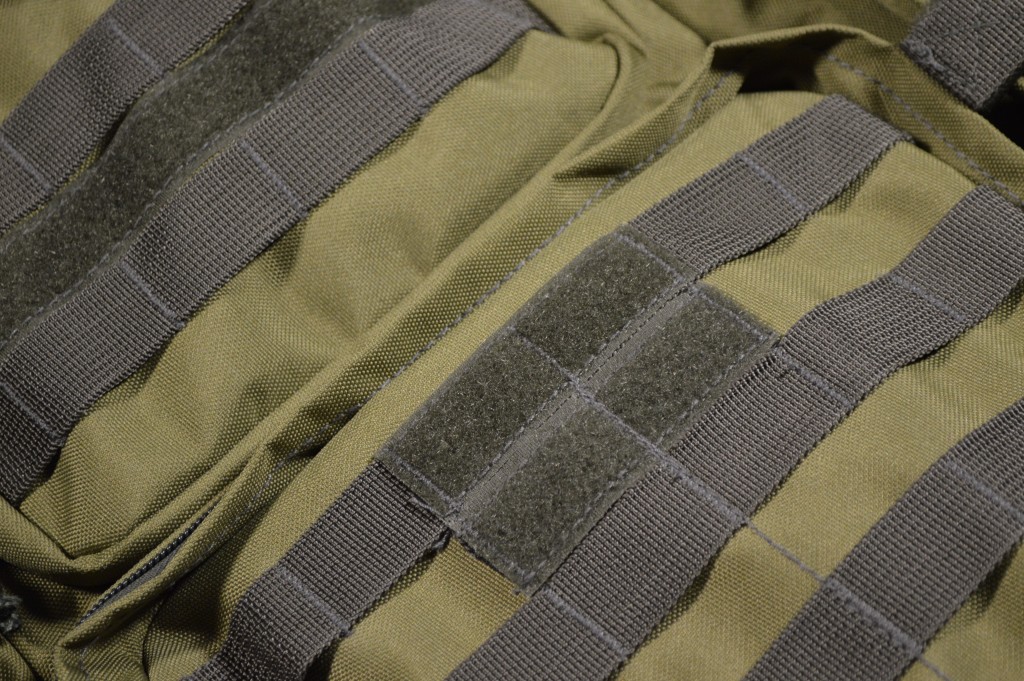
As I searched for something more flexible, I considered everything from pegboard to Velcro. There are plenty of ways to tackle the modular storage concept, but few hit on the features I wanted. Then, while looking at my backpack one day, it hit me – MOLLE. The Modular Lightweight Load-carrying Equipment (MOLLE) standard just turned 20 years old this year and, as far as tactical gear goes, is the preeminent approach to modular storage. Since I was looking for a way to store firearms and accessories, turning the door of my safe into a big MOLLE panel made perfect sense and would allow me to adapt the space to my changing needs.
Initially, my hope was to stay true to MOLLE by incorporating canvas or similar webbing on the inside of the door. The challenge I faced was that I didn’t want to get into sewing anything myself, and pre-made panels were either too expensive or the wrong size. The inside fire panel of my safe sits at around 18” wide and 47” tall, and there weren’t any preexisting solutions that fit that bill.
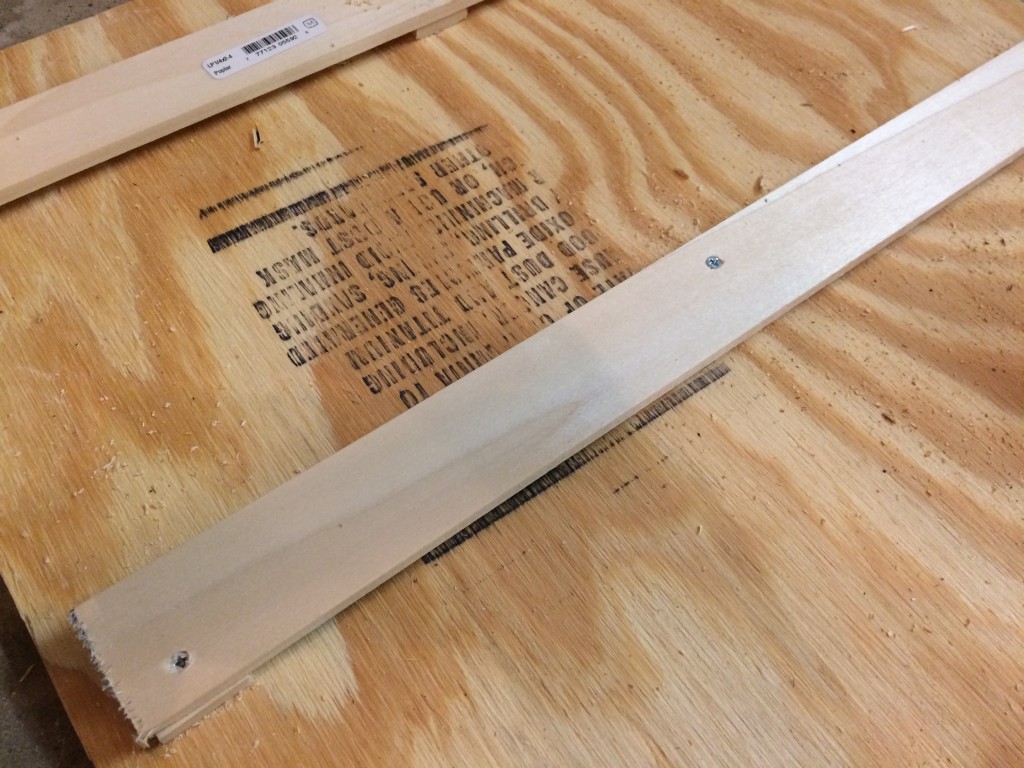
Rather than perfectly imitate MOLLE loops, I decided that a simpler path would be to create MOLLE-like rails using thin cuts of wood to replicate the general concept. Since my safe is stationary, the rail approach would allow me to omit the vertical divisions that exist between loops in true MOLLE. Using wood also simplified the design because rigid rails usually don’t sag under the heavy weight like cloth would.
After a trip to the hardware store, here is what I brought home:
One 1/4” plywood (24 x 48”) sheet
Several 1-1/2 x 48 x 1/4″ pine strips
1/2” wood screws (1” would also work, but I attached the rails and offsets separately)
That’s honestly it. The goal was to keep this project simple, and I think three ingredients is about as easy as it gets.
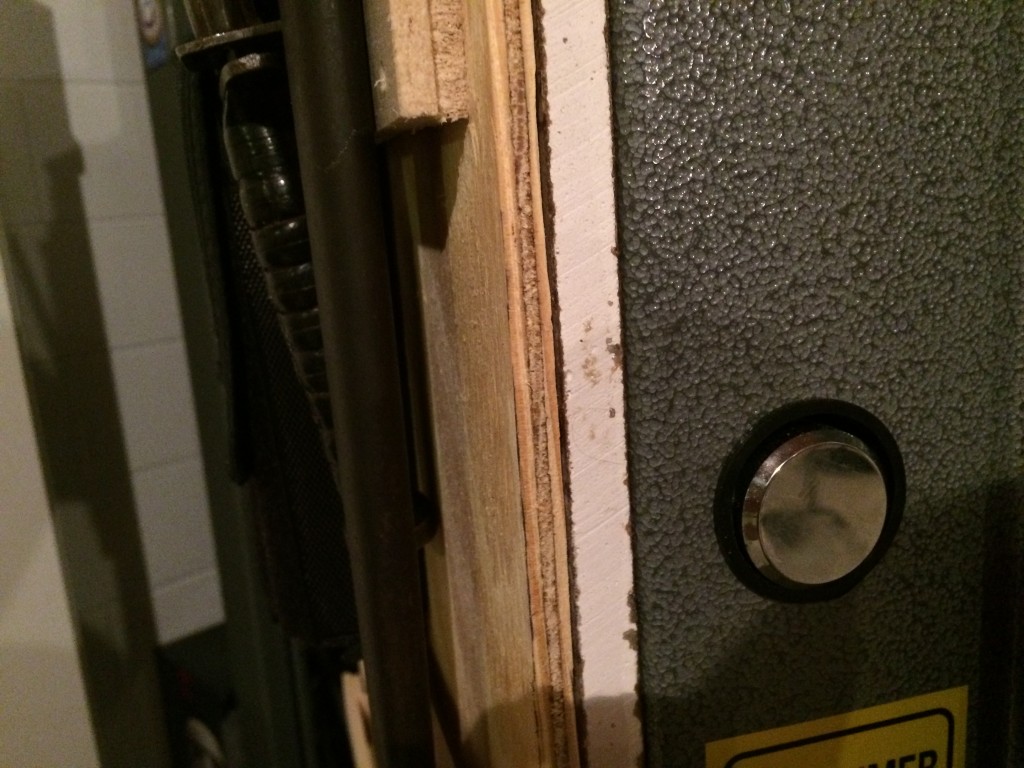
Now, the important part to remember about all of this is that the panel I created was not intended to replace the gypsum firewall already installed in the safe. When stripping the pocketed upholstery from the firewall, I took care to minimize the damage to the drywall-like material. Omitting or damaging the gypsum would destroy any fire rating the safe had. My decision to use thin, 1/4” plywood for the additional panel was made with the firewall in mind. If I were to add too much thickness to the door, it would not open or close.
The next part was easy, but it took some planning. My first thought was to cut my rails at the same width as my panel. However, if I were to do that, I would risk jamming the door as the additional thickness would almost certainly collide with the frame on the safe’s body. To allow for proper range of motion, I cut the rails at 17” and then centered them on the door to leave 1/2” on either side. I then made offsets for them out of the leftover wood bits.
Measuring for rail spacing was easily the most challenging part of the project, not because measuring in and of itself is difficult, but because I wasn’t at all sure how much space was appropriate between each rail. Moreover, I wasn’t certain if I should run rails the entire length of the panel or simply over part of it.
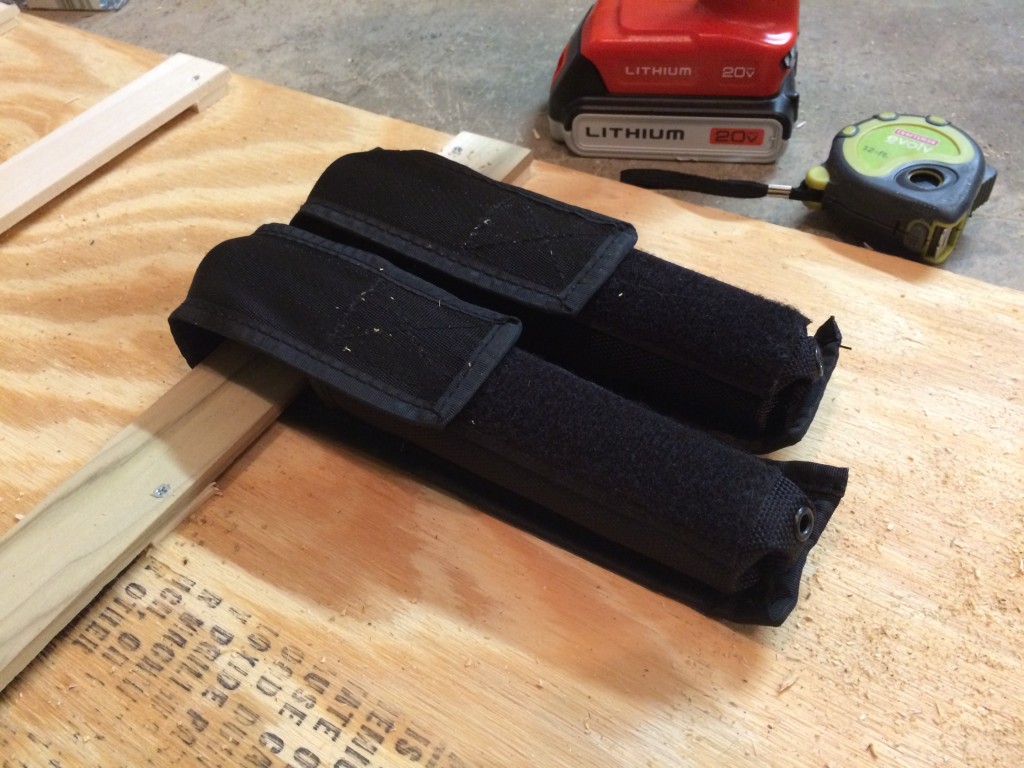
Ultimately, I chose 6” spacing between each rail with 2” of margin at the top of the door and 13.5” at the bottom. 6” seemed like a reasonable number to allow space for magazine pouches and suppressors that I might store on the door. Leaving room at the bottom was crucial for a few reasons. The first is obvious – I need to be able to close the safe. The second is because I may add magnets down there for handgun mounting.
An information security professional by day and gun blogger by night, Nathan started his firearms journey at 16 years old as a collector of C&R rifles. These days, you’re likely to find him shooting something a bit more modern – and usually equipped with a suppressor – but his passion for firearms with military heritage has never waned. Over the last five years, Nathan has written about a variety of firearms topics, including Second Amendment politics and gun and gear reviews. When he isn’t shooting or writing, Nathan nerds out over computers, 3D printing, and Star Wars.


