Silencer Shop Authority: The Daniel Defense DDWave

We always deliver the best content right to you.
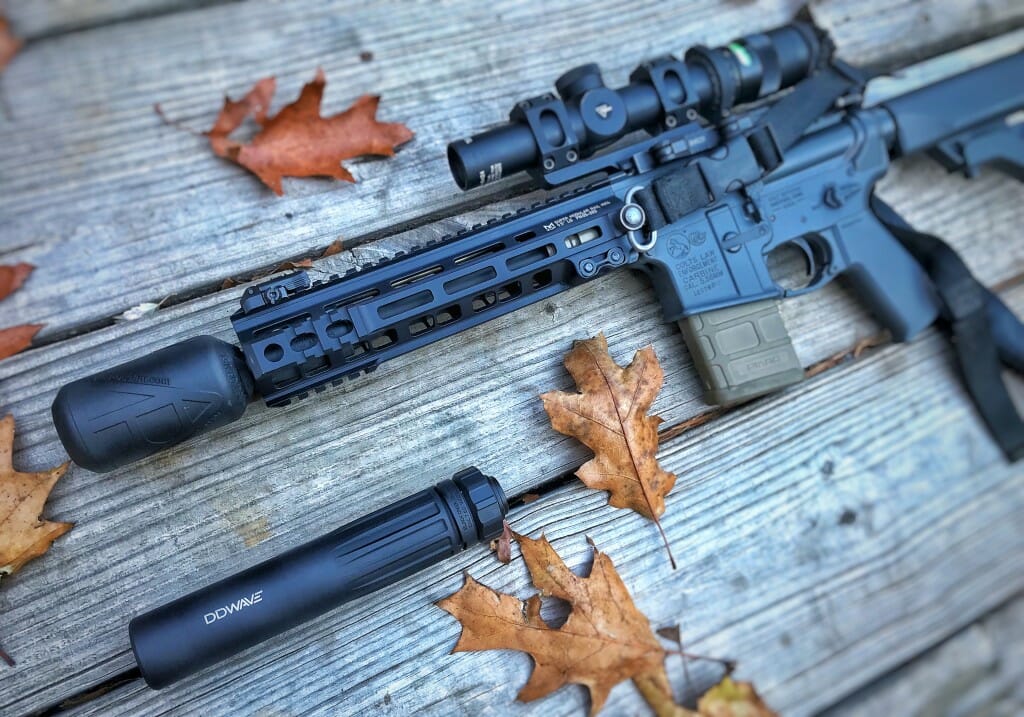
After holding my first silencer made using an additive manufacturing process (3D Printing), I was star struck. Here was a 6.5-ounce rifle silencer that could withstand the repeated blasts of 5.56mm ammo through a 7.5” barrel. Sure, it lacked a quick detach mounting system, but the trade-off is a design that is meant to disappear on the end of a rifle like a flash hider or muzzle brake. In short, I had high expectations for the new DDWave 7.62mm rifle silencer. How did the 3D printed suppressor size up? Let’s find out.
As I stated above, I’m not new to the 3D printed silencer world; however, I decided against a head-to-head test for a couple of reasons. First, the Daniel Defense DDWave and my Delta P silencer are designed for different use cases. The DDWave in this review is meant to be rotated between different hosts using a friction-style QD system. On the other hand, the Delta P is designed to be mounted on a single rifle using a direct thread system. Last, and probably most important, the DDWave is not built to be as short and light as possible – in reality, even though it is built using 3D Printing, the Wave has more in common with a machined/reductive manufactured silencer than it does the Brevis.
Taking all those factors into account, the DDWave deserves a stand-alone review.
* Note: A direct thread model is available
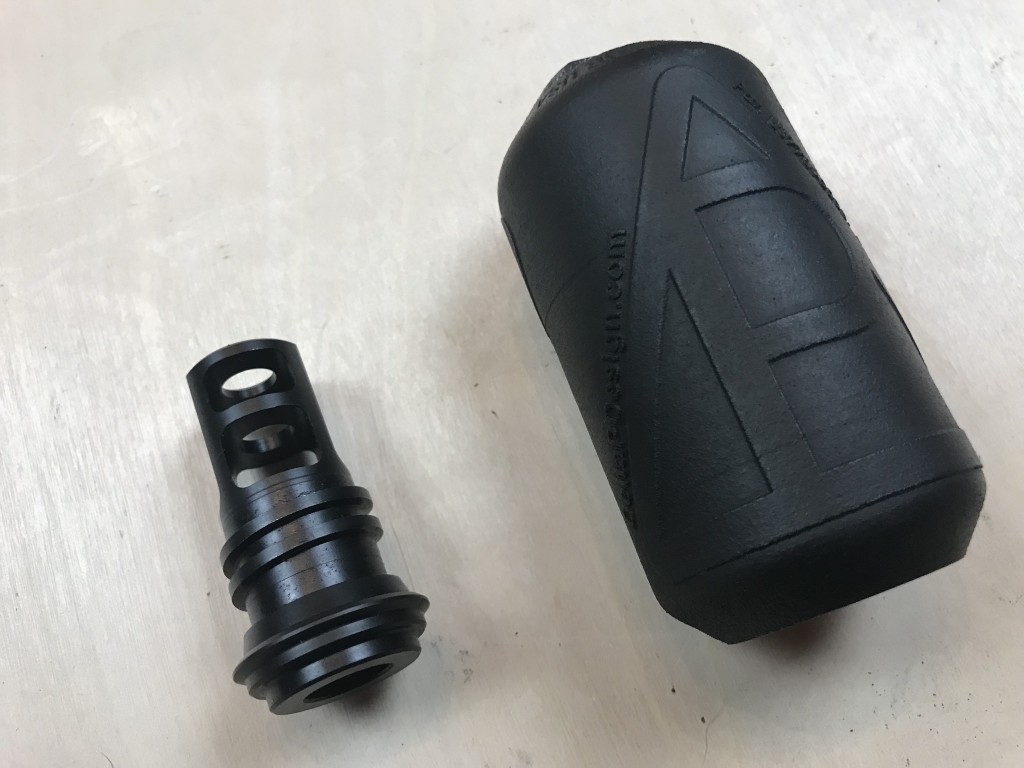
The DDWave came from Silencer Shop nicely packaged in a rectangular hard cardboard box with a foam insert. For testing purposes, this particular model came with two muzzle brakes: one for 5.56mm rifles and one for 7.62mm rifles. At the time of purchase, you’ll be asked for your choice, so make sure you you know your host weapon and barrel threads.
Installing the DDWave muzzle brake is like any other – clean and inspect the barrel threads, twist on the brake to gauge timing, the included shims to align the brake properly.
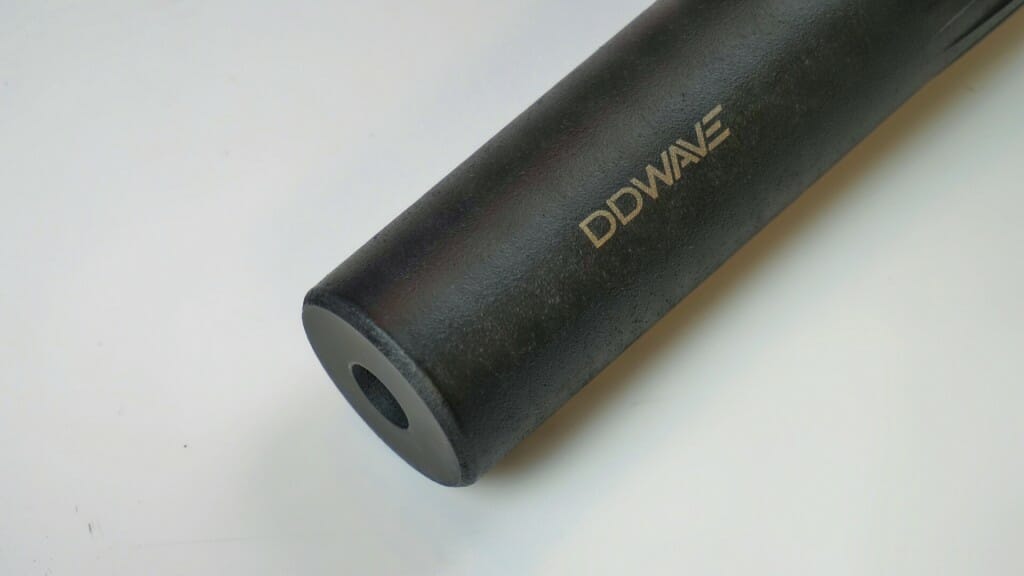
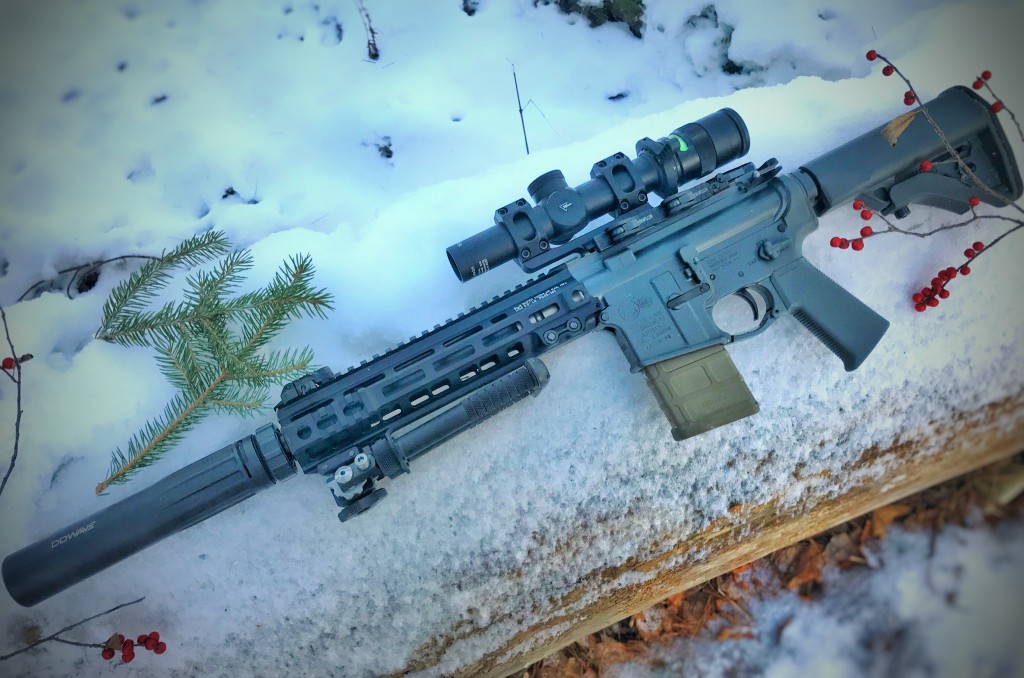
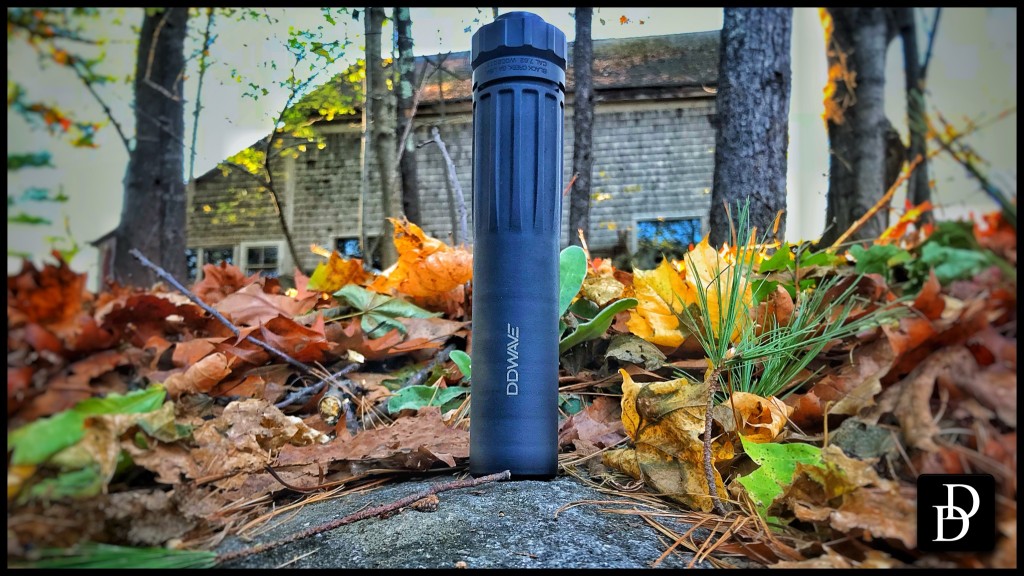
Despite its high-tech creation process, the DDWave looks and feels like most typical rifle suppressors. At just over 17 ounces, it weighs at the lower end of other market leaders, but I wouldn’t consider it light. In that vein, the Wave’s length and outer diameter are also about average when compared to current silencer options.
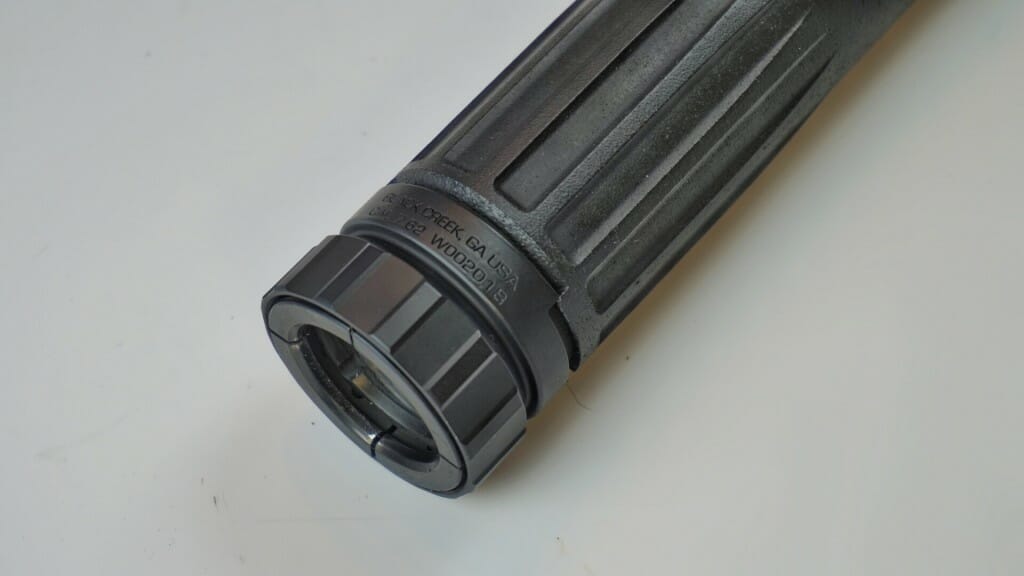
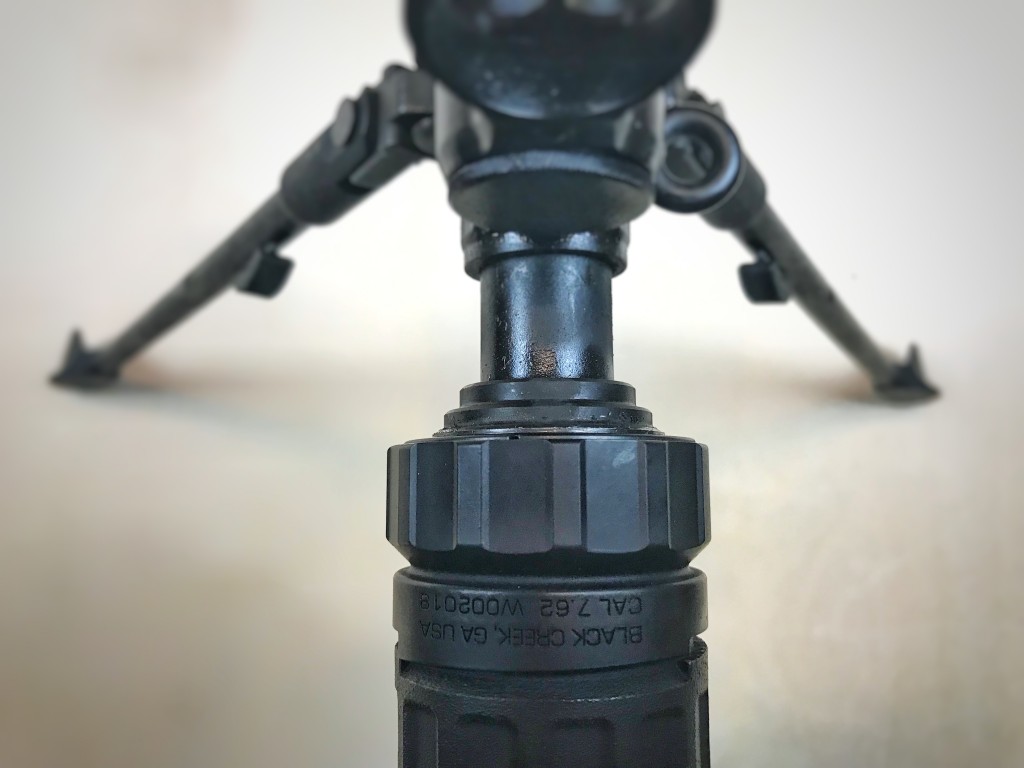
Some differences start to appear when we look at the way Daniel Defense has marked the Wave with its serial number, manufacturer information, and caliber as required by ATF regulations. Instead of marking the tube, the traditionally machined muzzle mount adapter is serialized. In theory, if a user has a baffle strike or other damage that affects the 3D printed portion of the silencer, the manufacturer, can remove the mounting system, add a new tube and baffle stack, and complete the repair without generating a taxable event – paying $200 and waiting a few months.
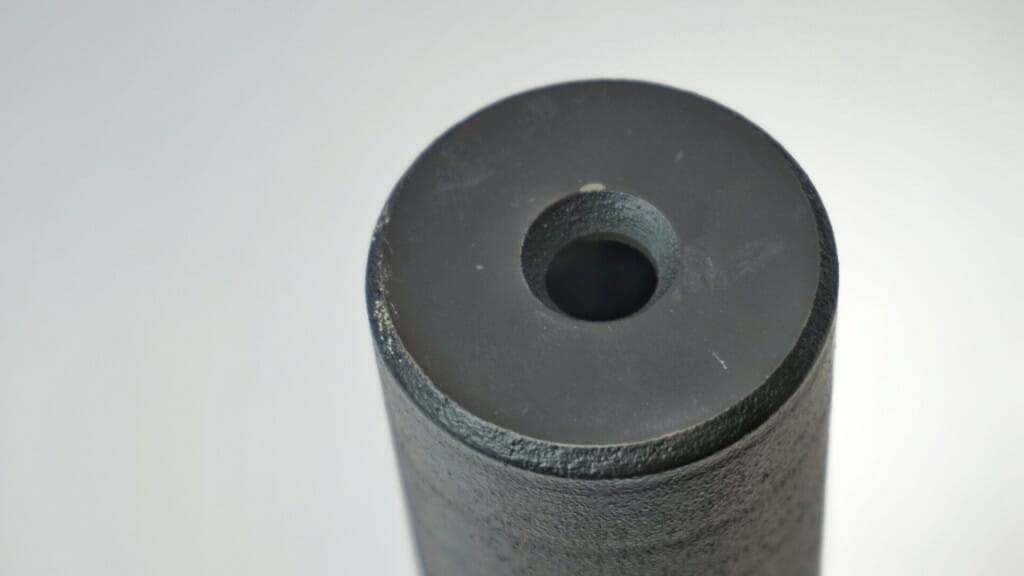
While a full tube and baffle stack replacement option is great, the DDWave does not have a removable endcap; an area of the silencer most prone to damage. So unlike other modular designs, any damage requires a full repair. However, as with every well designed and built silencer, host weapon and barrel, the risk of damage is extremely low.
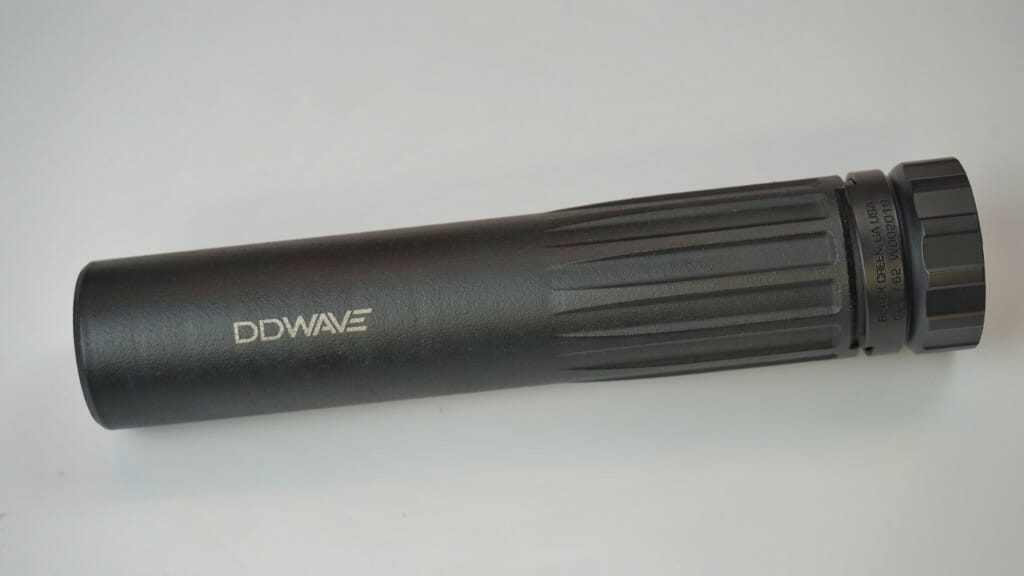
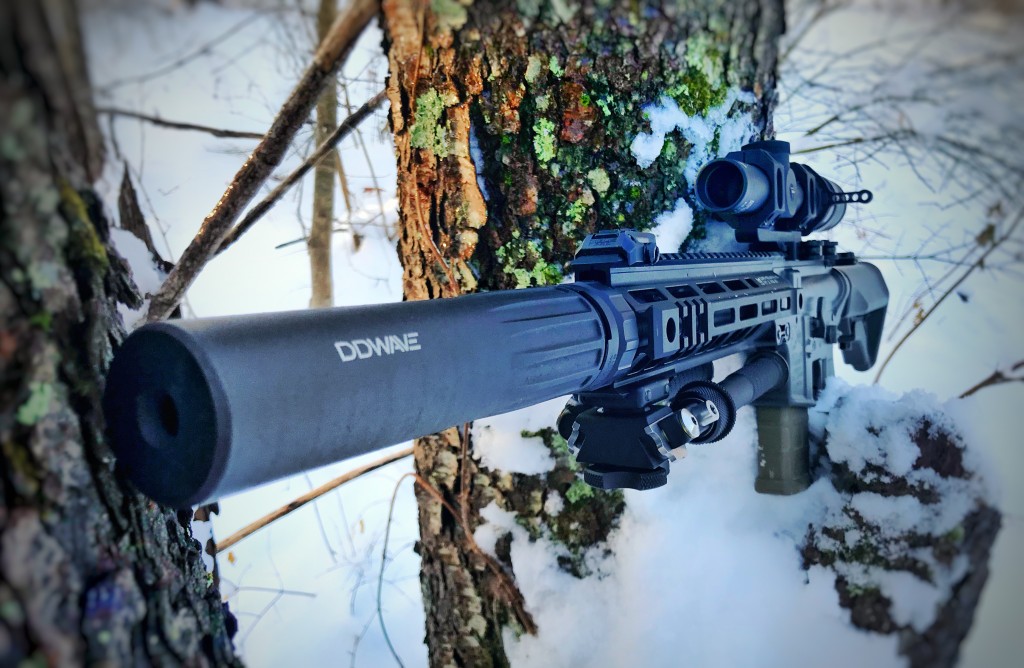
I would rank the Wave’s outer finish as average. While I didn’t abuse it, I certainly didn’t baby it either: the DDWave spent time on the range, trekking through the woods, and even experienced some simulated automatic fire with a Franklin Armory BFS III Binary Trigger in a short-barreled PTR91. I didn’t notice any discoloration, but there were a few nicks and scratches that became visible. As with 99% of my gear, however, I prefer something that gets used and doesn’t look like a display item.
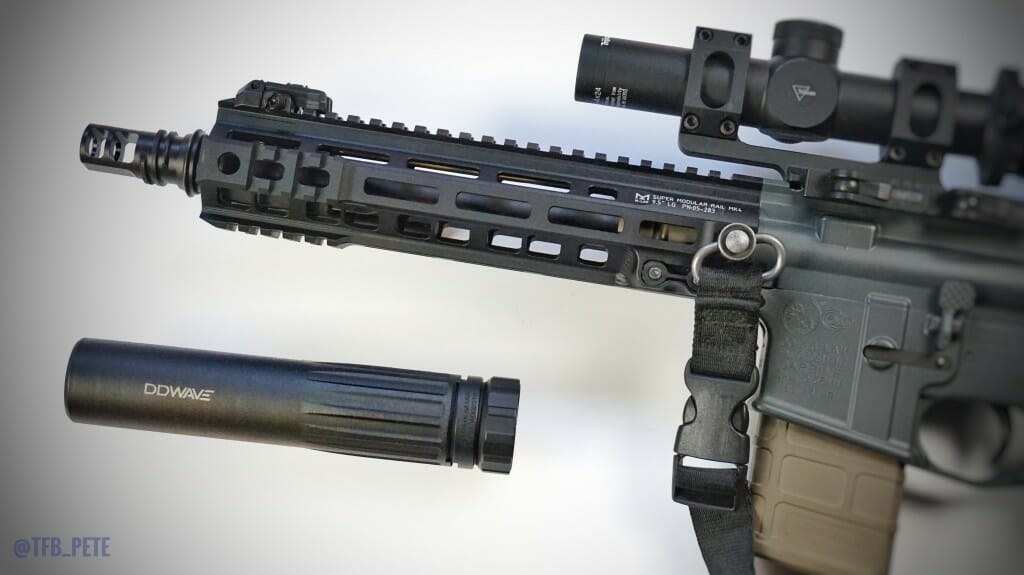
On the topic of aesthetics, this is a sharp looking suppressor. The ridges or flutes near the attachment system, whether they increase strength or aid with heat dissipation or not, give the Wave a streamlined appearance. So, if you are dressing up your MK18 for a night on the town, this slimming black dress silencer will be the perfect outfit.
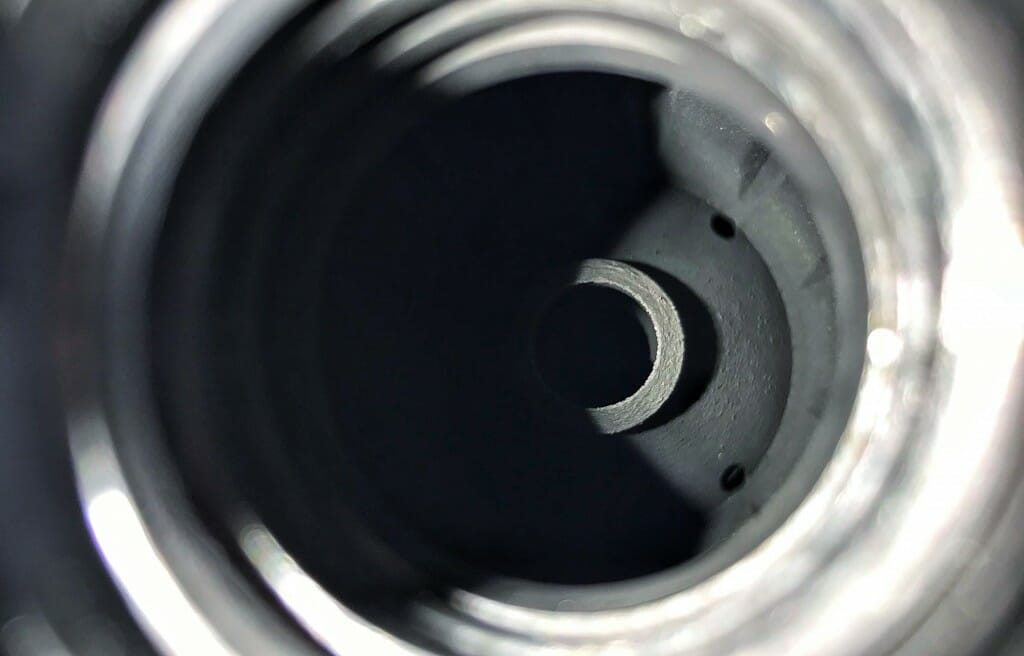
A brief look inside the DDWave reveals what looks to be a fairly standard blast baffle configuration, although I can’t tell if it was manufactured using traditional methods or 3D printed.
As stated above, the installation of the muzzle brake is a straight forward process. For the sake of simplicity, I chose not to time the brake in the correct orientation. Truth be told, if you plan on always shooting suppressed, timing any muzzle brake is unnecessary.
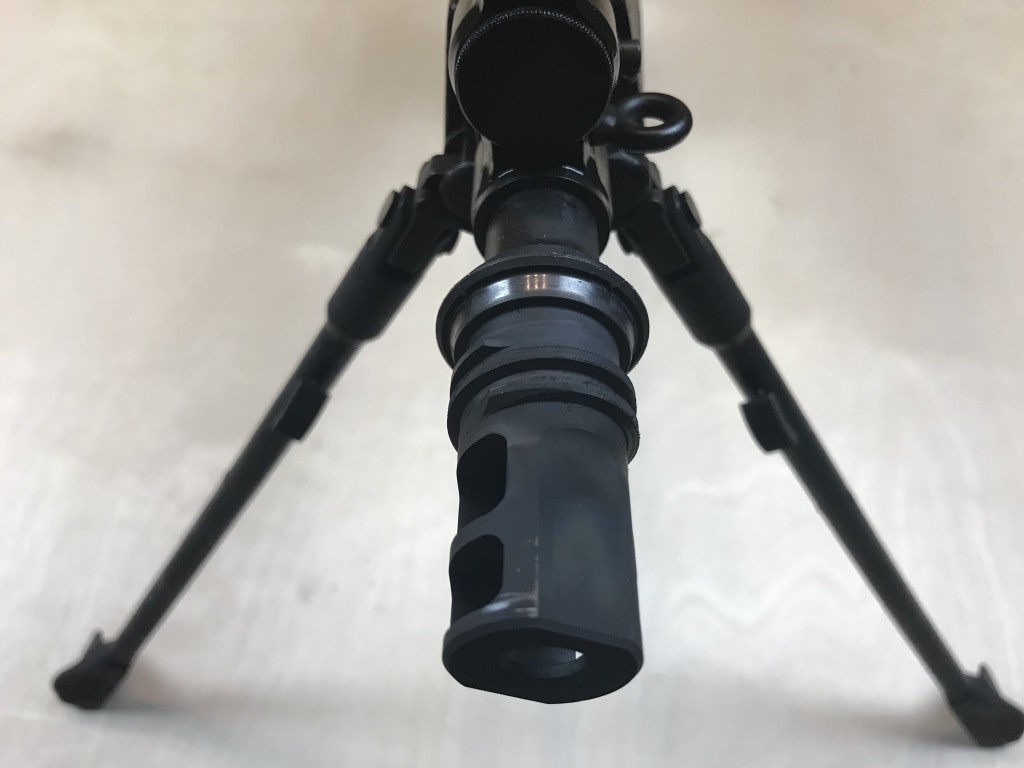
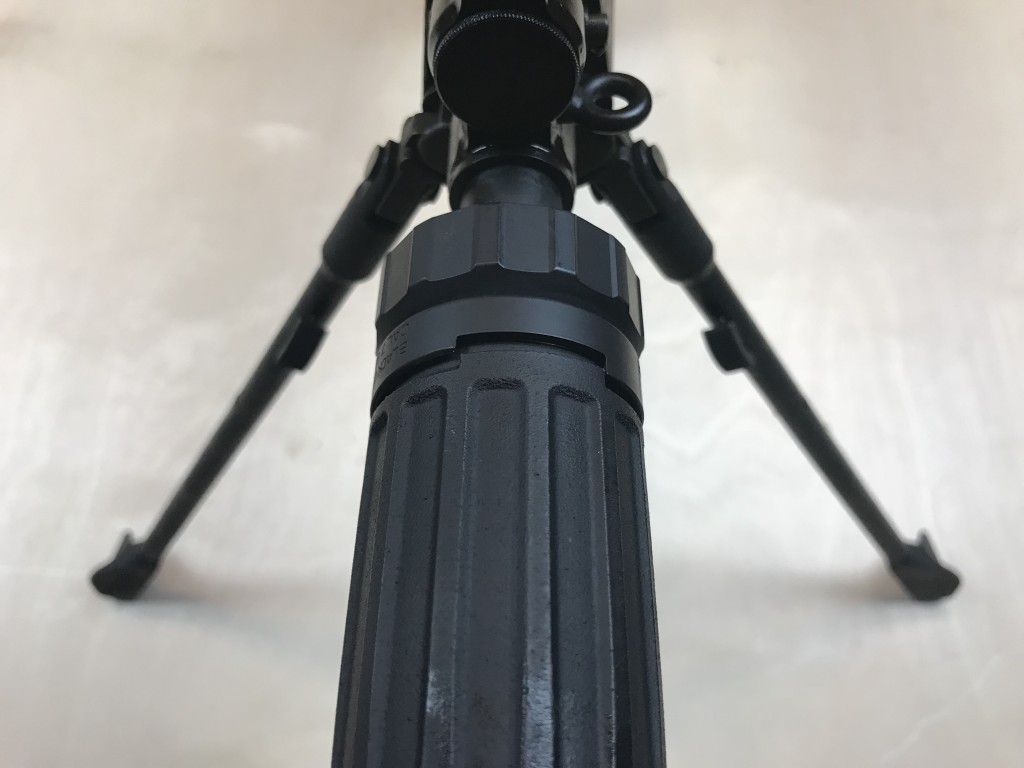
Looking at the above picture, you will notice the clean mating surface where the wave rests on the brake evenly, preventing gas and (eventually) noise from slipping past.
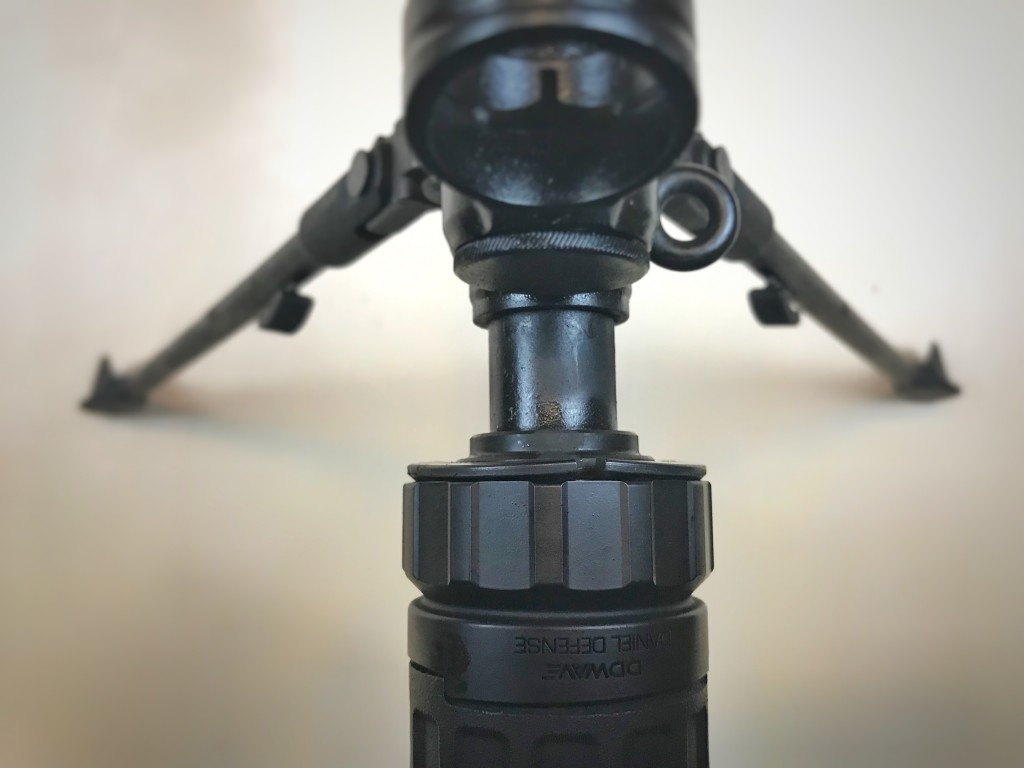
Installing the DDWave onto the brake gets interesting. Like most standard QD silencers, the Daniel Defense silencer fits overtop of the brake and tightens with a right-hand twist. There are three-segmented metal inserts (tabs) on the silencer that have enough tolerance to fit over a rim on the muzzle brake. As this happens, the tightening is met with resistance when it reaches the rim on the brake. In the above picture, the silencer is NOT locked in place.
In the below picture, the Wave’s three metal inserts (tabs) cross over the rim before or after locking or unlocking the QD system.
Let’s take a look at the QD procedures of the DDWave as outlined in Daniel Defense’s owners manual:
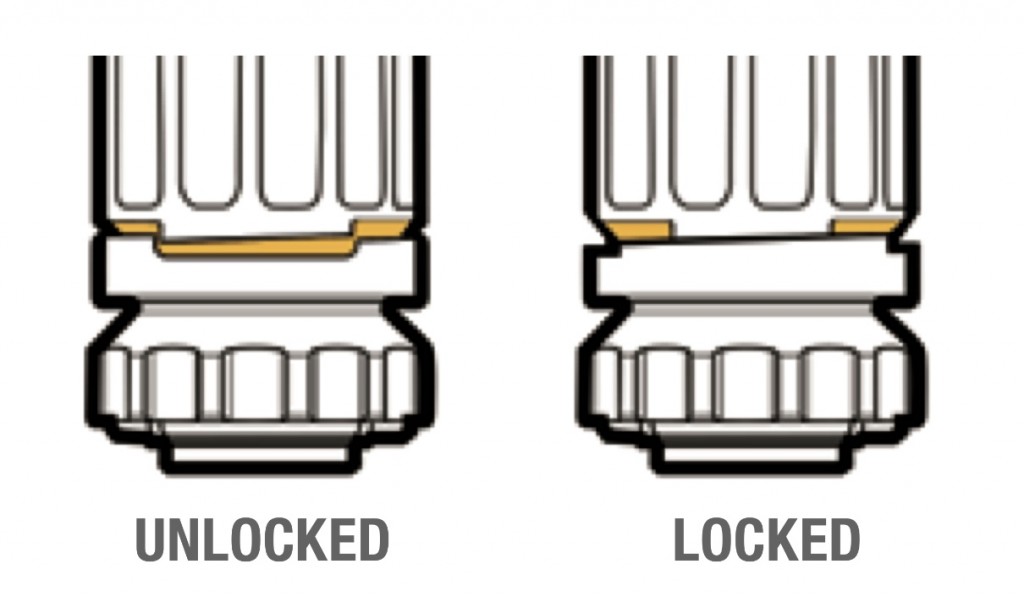
Pretty straightforward, right? Unfortunately, with real-world use, the Wave’s mount is problematic. Not only is it difficult to tell whether the locking tabs have engaged the rim of the brake, but the amount of force required to remove the Wave (locking tabs over the rim in reverse) sometimes necessitates the need for a strap wrench, defeating the purpose of a QD system.
Above, the Wave is locked into place. Below, the Wave is unlocked. The difference between the two settings is obviously critical, however difficult to discern, especially in low-light, darkness or under stress.
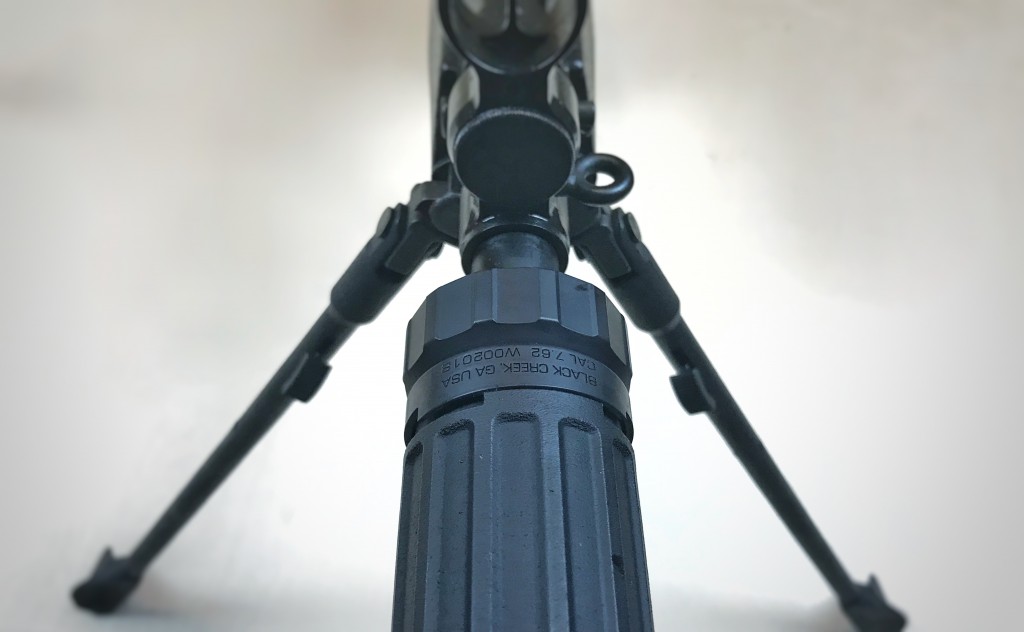
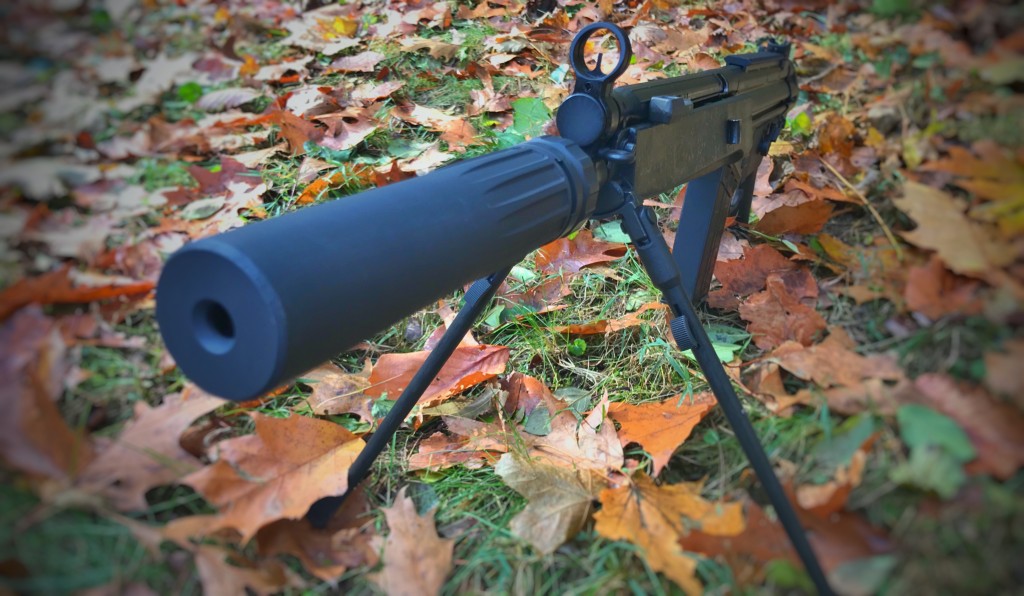
Here the Wave is mounted on the PTR K3P, ready for action.
Why did I spend so much time discussing the Wave’s QD system? First off, because the leading cause of damaged or even launched silencers has to do with how the device mounts to the host weapon.
Second, the Wave’s perceived sound suppression levels are pretty good. I have heard of shooters experiencing excessive back pressure issues and lower than average sound reduction (compared to other silencers). But in my experience, the Wave performs right in the middle of the pack – it doesn’t slump, but it doesn’t excel either.
I used four rifles to test the Wave:
Again, in my estimation, each of the platforms and ammo combinations performed about average when compared to a SilencerCo Saker 762. The differences in sound reduction were more noticeable when using the subsonic rounds, but the Wave didn’t outperform or underperform in any significant way.
I would probably give the edge to the Saker when suppressing 7.62 and the Wave performs slightly better suppressing 5.56.
Both the subsonic ammunition from Detroit Ammo (7.62×39) and Discreet Ballistics (7.62×51) was hearing safe and pleasant to shoot through the DDWave.
There’s no doubt in my mind that additive manufacturing is going to play a big roll in firearms development in the near future. From receivers to silencers, most shooters will own a 3D printed gun part in the next five years.
However, additive manufacturing needs to be done with a purpose: unique design features, weight savings, or increased strength thresholds can all be accomplished using the technique over traditional reductive manufacturing (machining).
Unfortunately, in my opinion, Daniel Defense attempted to design a traditional silencer using 3D printing, and the result was a heavy, expensive silencer that suppressed on par with less expensive and less complex silencers on the market.
Case in point, the MSRP difference between the DDWave and the Delta P Brevis is less than $200. But the performance divide, as measured in weight savings, is huge – the Wave’s muzzle device weighs as much as the entire Delta P silencer.
For this reason, and the fact that the DDWave’s mounting system probably needs a redesign, I can’t recommend it as a purchase for the average consumer. The direct thread model is an option, however there is still a hefty price premium for little performance gains.
The goal should be to build a 3D silencer from the ground up, taking advantage of the high tech processes to save weight, increase sound reduction or lower manufacturing costs. Otherwise, stick to traditional manufacturing processes and focus on ways to engineer better designs.
Be part of the International Sportsman community
We've sent you email with a verification link. Please click on the link to activate your account. Once activated, you'll be able to login and comment on articles. If you don’t receive the email within 15 minutes, please check your spam folder. Contact support@internationalsportsman.com for help.
Thank you for joining the International Sportsman community. We look forward to providing content that engages you and keeps you coming back for more.